Check Writing Worksheets
All About These 15 Worksheets
Students master the art of check writing with this series of 15 worksheets designed to help them develop the skills necessary for writing checks accurately and confidently. Each worksheet in this series provides step-by-step guidance and interactive exercises to ensure students understand the essential components of a check, practice writing checks, and learn the importance of precision and attention to detail.
This series caters to students across different grade levels, offering a range of worksheets that cover various aspects of check writing. Through these worksheets, students will:
- Understand the purpose and importance of the various components in a check;
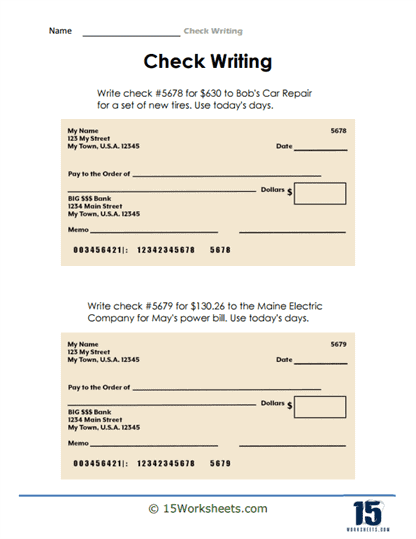
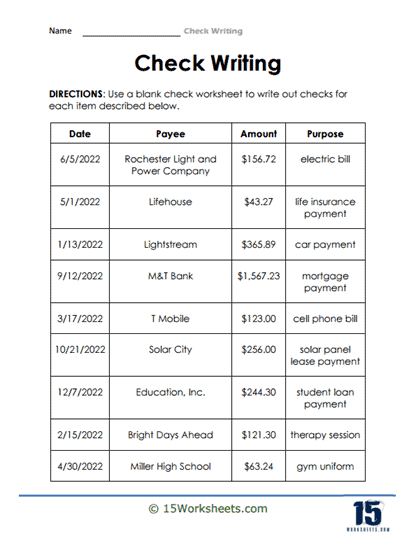
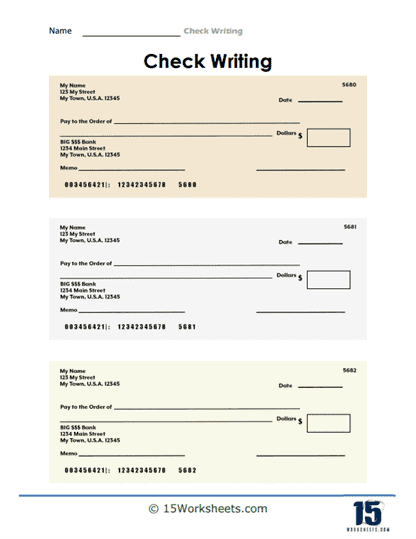
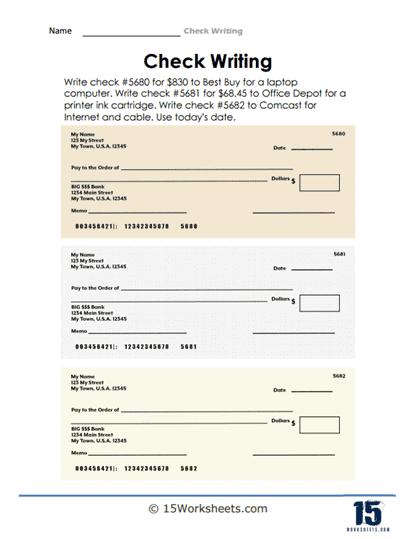
- Write checks for different purposes, such as paying bills, making purchases, or donating to charities;
- Convert numbers to words and vice versa, and master this crucial aspect of check writing;
- Improve their familiarity with banking procedures and enhance their overall financial literacy;
- And assess their own accuracy, neatness, and attention to detail.
This series of worksheets serves as a valuable resource for teachers seeking to enhance their students’ financial literacy and practical writing skills. By engaging with these worksheets, students develop the knowledge and proficiency required to write checks accurately, understand banking procedures, and manage personal finances effectively.
How to Write out a Check
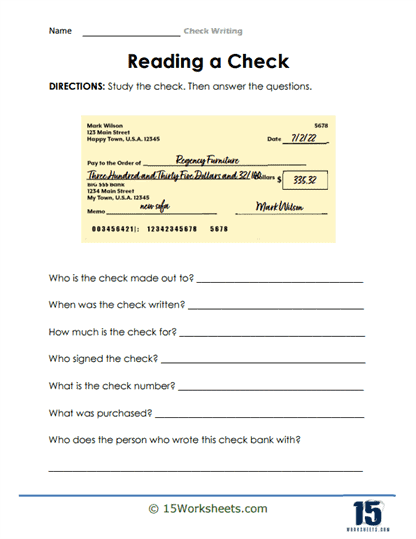
A personal check is a form of payment that is drawn on a personal checking account. When you write a personal check, you are instructing your bank to transfer funds from your account to the recipient’s account. Personal checks can be used to pay for a wide range of goods and services, including bills, rent, and purchases.
When you write a personal check, you need to include the name of the recipient, the date, the amount of the check in numerical and written form, and your signature. Personal checks are not guaranteed funds, meaning that the funds are not immediately available to the recipient. Instead, the check must be deposited or cashed by the recipient, and the funds may take a few days to clear.
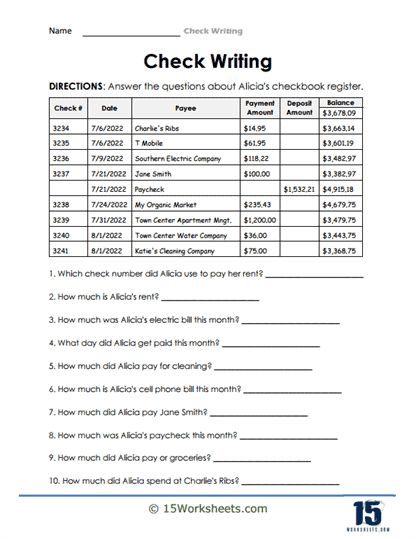
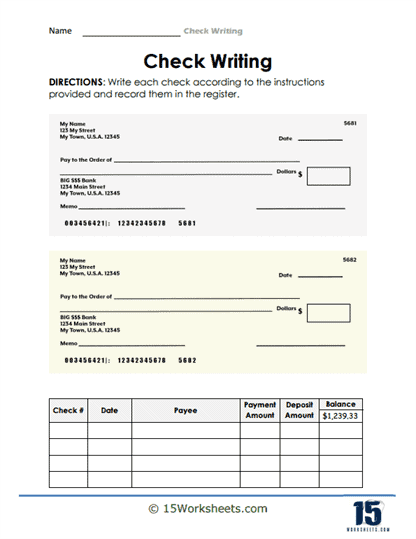
It’s important to keep track of your personal checkbook to ensure that you have enough funds to cover any checks you write. Overdraft fees can be costly, so it’s a good idea to keep an accurate record of your spending and to check your account balance regularly.
Personal checks are a convenient and widely accepted form of payment, but it’s important to use them responsibly and to keep track of your spending to avoid any unnecessary fees or charges.
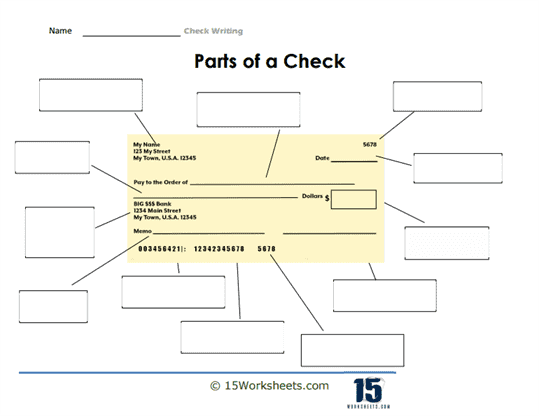
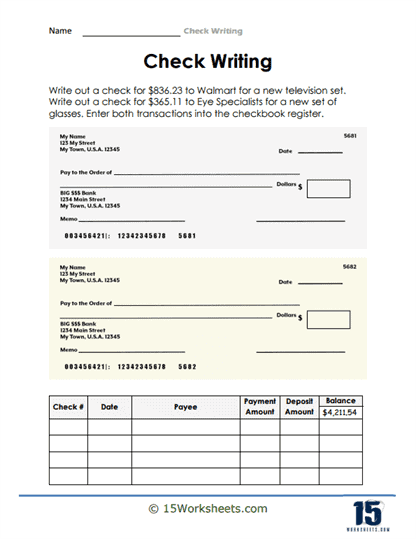
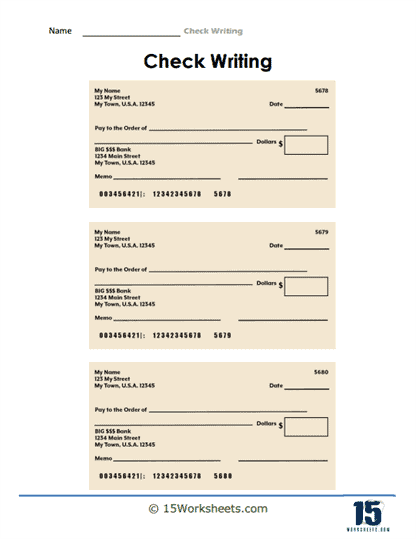
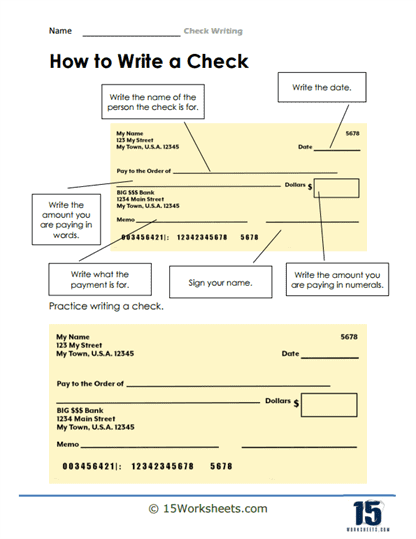
Writing out a check is a simple process that can be broken down into the following steps:
Date the Check
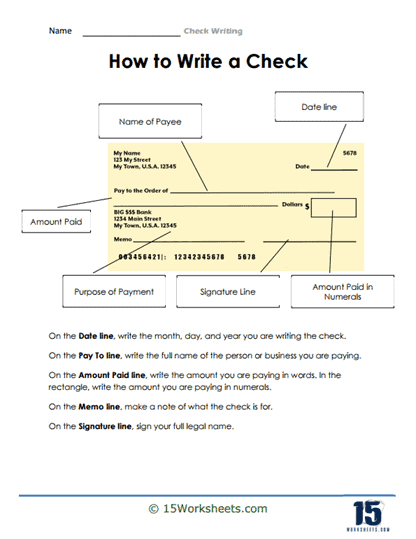
In the top right-hand corner of the check, write the date that you are writing the check. Use the format month/day/year (e.g. 04/25/2023).
Add the Recipient’s Name
In the “Pay to the Order Of” line, write the name of the person or organization you are paying. Make sure to spell the name correctly and use the full name if possible.
Write the Amount in Numbers
In the box on the right-hand side of the check, write the amount you are paying in numerical form. Start at the left-hand side of the box and make sure to include any cents by writing them as a decimal (e.g. 50.00).
Write the Amount in Words
In the line below the recipient’s name, write out the amount you are paying in words. Use uppercase letters and write the amount in both dollars and cents (e.g. Fifty dollars and 00/100).
Add a Memo (optional)
In the memo line, you can write a note about what the check is for. This is optional, but it can be helpful for both you and the recipient to keep track of the purpose of the payment.
Sign the Check
In the bottom right-hand corner of the check, sign your name. Make sure to sign the check in the same way that your name appears on the account.
Once you have filled out all of the necessary information, make sure to double-check that everything is correct and that you have signed the check. You can then hand the check to the recipient or mail it to them.