Addressing an Envelope Worksheets


All About These 15 Worksheets
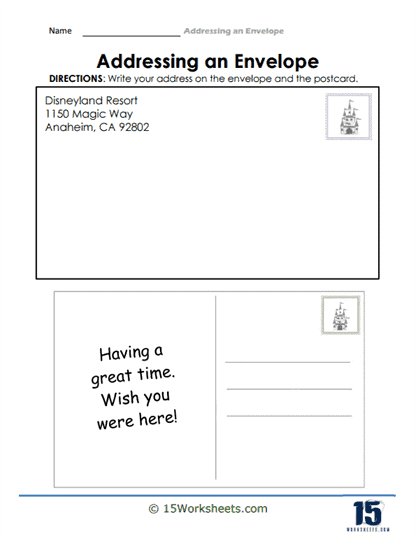
Enhance your students’ practical writing skills with this series, a collection of 15 interactive worksheets designed to teach them the art of addressing envelopes. Each worksheet in this series provides step-by-step guidance and hands-on practice to help students master the essential elements of addressing envelopes accurately and professionally.
This series is suitable for students across different grade levels, providing worksheets that cater to various envelope sizes and formats. Through these worksheets, students gain the skills necessary to address envelopes with confidence, whether for personal correspondence, business communications, or other mailing purposes.
Addressing envelopes is a practical skill that has real-world applications. The activities in these worksheets provide examples and scenarios that reflect various mailing contexts, such as personal letters, business correspondence, or formal invitations. This relevancy allows students to see the practicality and importance of proper envelope addressing in their daily lives.
Overall, this series of worksheets serves as a valuable resource for teachers seeking to equip their students with practical writing skills. By engaging with these worksheets, students gain the knowledge and practice necessary to address envelopes accurately and professionally, fostering effective communication and a sense of accomplishment in their written correspondence.
How Do You Address An Envelope to be Mailed?
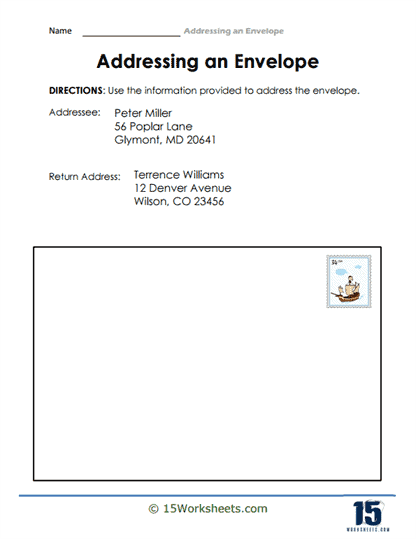
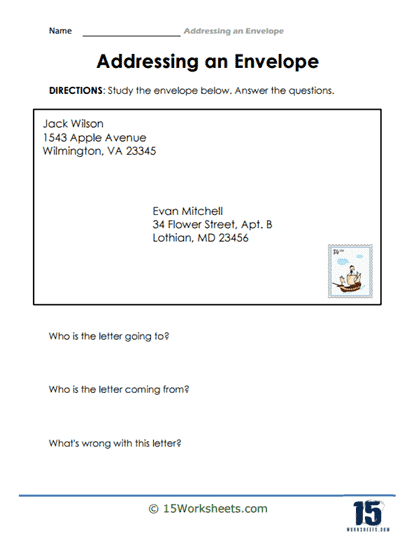
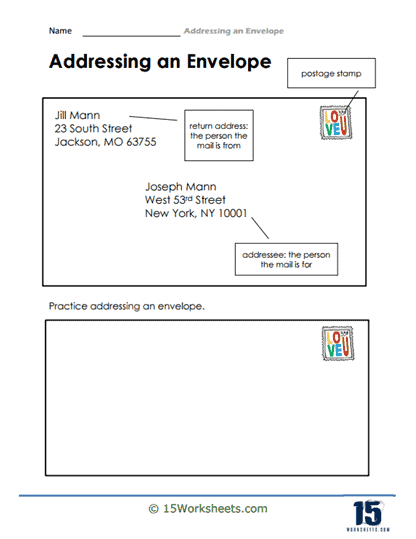
To properly address an envelope, you need to include the recipient’s address, your return address, and postage. Here’s a step-by-step guide on how to address an envelope:
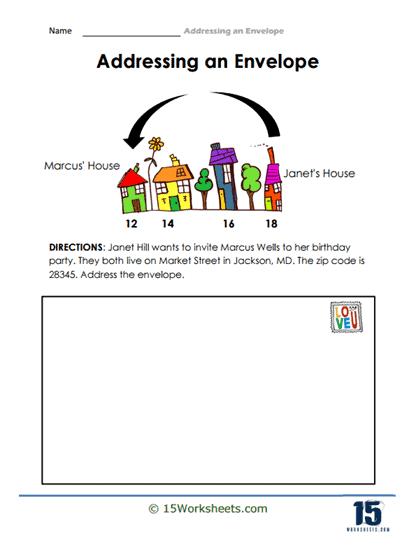
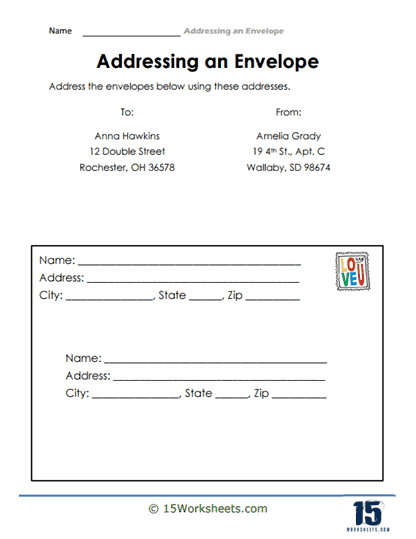
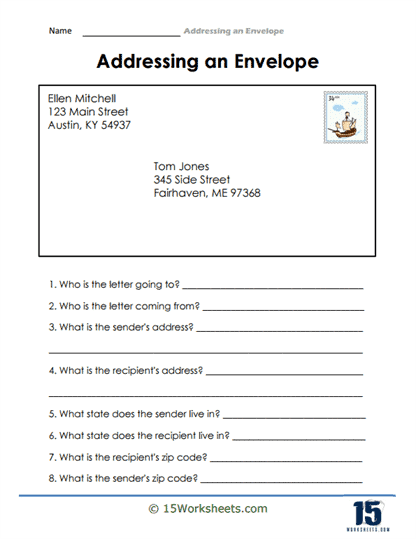
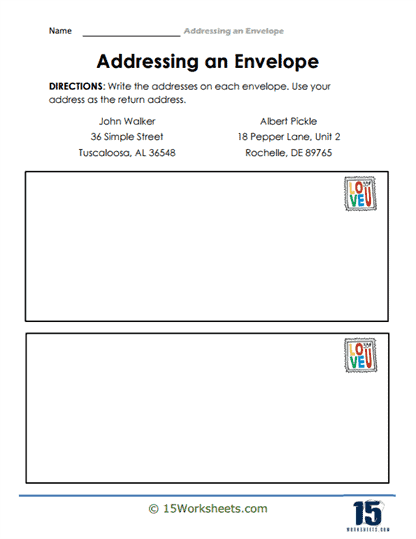
Write the recipient’s address. On the front of the envelope, write the recipient’s address in the center. Use legible handwriting or print the address using a computer and printer. The format for the recipient’s address is:
[Recipient’s Full Name]
[Street Address or P.O. Box]
[City, State Abbreviation, ZIP Code]
If applicable, include any necessary apartment, suite, or unit numbers in the address. If you’re mailing the letter internationally, include the country name on a separate line below the ZIP code.
Include your return address. Write your return address in the top left corner of the envelope. This will allow the letter to be returned to you if it cannot be delivered to the recipient for any reason. The format for the return address is the same as for the recipient’s address:
[Your Full Name]
[Your Street Address or P.O. Box]
[City, State Abbreviation, ZIP Code]
Affix postage. Purchase the appropriate postage (stamps or metered postage) based on the weight, size, and destination of your letter. You can calculate the required postage using online tools provided by postal services, such as USPS, or by visiting a post office. Place the stamp or metered postage in the top right corner of the envelope.
By following these guidelines, you’ll ensure your envelope is properly addressed and ready to be mailed. Remember to use clear, legible handwriting or printed text, and make sure the envelope is clean and free of any smudges or marks that could interfere with the readability of the addresses.
Mailing a letter involves several steps, including writing the letter, addressing the envelope, affixing postage, and placing it in a mailbox or at a post office. Here’s a step-by-step guide on how to mail a letter:
Write the letter. Compose your letter using a pen or a computer and printer. Make sure the content is clear, concise, and well-organized. Once you’ve finished writing, sign the letter if necessary and fold it neatly.
Choose an envelope. Select an appropriate envelope size that will fit your letter without having to fold it too many times. Standard letter-size envelopes, such as the #10 envelope (4 1/8″ x 9 1/2″), are commonly used for mailing letters.
Address the envelope. On the front of the envelope, write the recipient’s address in the center, following the format:
[Recipient’s Name]
[Street Address or P.O. Box]
[City, State Abbreviation, ZIP Code]
Make sure to include any necessary apartment or suite numbers in the address.
Include your return address. Write your own name and address in the top left corner of the envelope. This will allow the letter to be returned to you if it cannot be delivered to the recipient for any reason. The format for the return address is the same as for the recipient’s address.
Affix postage. Purchase the appropriate postage (stamps or metered postage) based on the weight, size, and destination of your letter. You can calculate the required postage using online tools provided by postal services, such as USPS, or by visiting a post office. Place the stamp or metered postage in the top right corner of the envelope.
Seal the envelope. Fold down the envelope flap and moisten the adhesive strip. Press the flap down firmly to ensure the envelope is securely sealed.
Place the letter in a mailbox or take it to a post office. You can either drop your letter into a public mailbox (usually blue in the United States) or bring it to a post office for mailing. In some countries, you can also leave the letter in your own mailbox with the flag up for your mail carrier to collect.