Comparing Measurements Worksheets


About These 15 Worksheets
These worksheets guide students through real-world measurement comparisons-weight, width, length, and height-in a fun, visual way. With activities like “Compare on a Seesaw” or “Narrowest to Widest,” kids practice identifying differences while linking descriptive vocabulary to visual cues. The variety keeps learning dynamic, allowing children to observe, match, draw, and classify based on size or mass.
This collection brings measurement to life through relatable tasks-sorting heavy/light objects, ordering lengths, or coloring width types-so students build sense through doing. Each worksheet reinforces a different measurement concept using straightforward visuals and activities, making abstract ideas tangible. Together, they lay a strong foundation for future math and scientific thinking.
The worksheets are versatile for classroom or home use and adaptable across age levels, especially grades K-3. As children practice, they refine their observational skills, learn relevant vocabulary, and gain confidence in measurement comparison. It’s early measurement learning, made simple and meaningful.
Have a Look Inside Each Worksheet
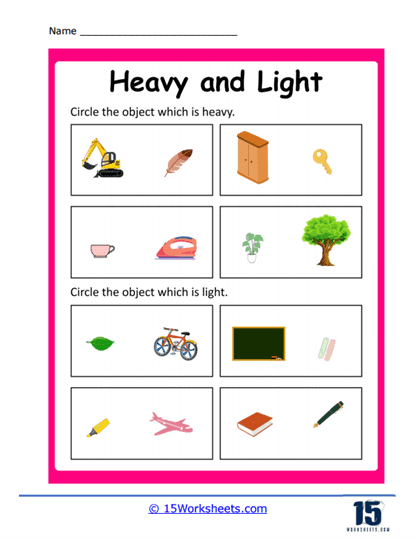
Heavy or Light
Students decide if objects are heavy or light based on visual or written prompts. It helps them feel the difference between weight categories. It builds fundamental measurement understanding through simple comparison.
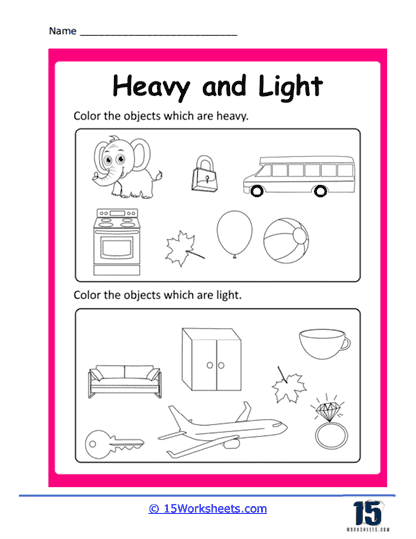
Heavy and Light
Learners sort items into heavy and light groups. This cements their ability to compare weights. It’s a hands-on way to practice the concept of mass.
Sorting By Weight
Kids group objects according to how heavy or light they appear. It sharpens their observational and classification skills. It makes the concept of weight meaningful in everyday terms.
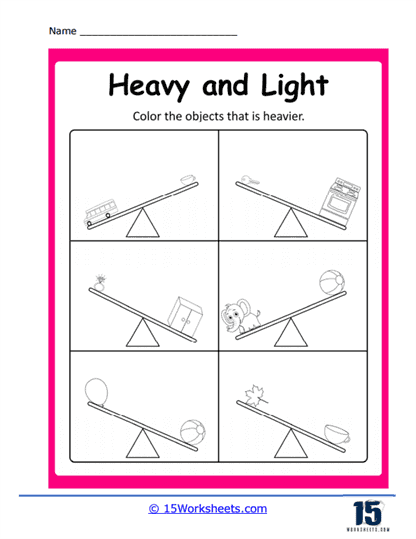
Compare on a Seesaw
Students visually compare weights using a seesaw illustration. It shows which item would tip the scale heavier or lighter. It’s a playful way to understand balance and weight.
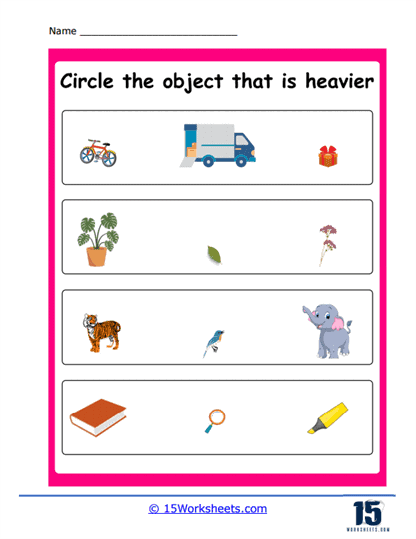
Comparing Weight
Learners compare two or more objects to decide which is heavier or lighter. It trains critical thinking and measurement comparison. It reinforces the concept of weight differences.
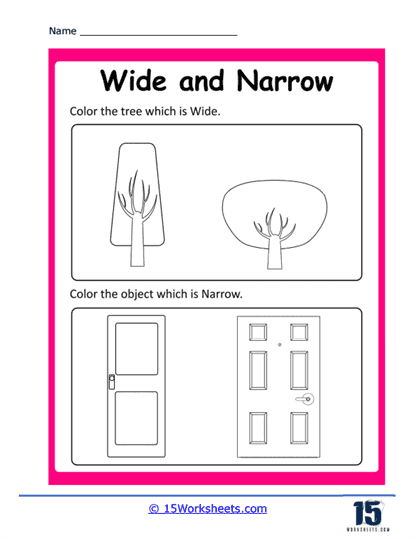
Coloring Wide and Narrow
Kids color objects that are wide or narrow based on prompts. This links vocabulary about width to visual recognition. It’s simple, colorful, and effective.
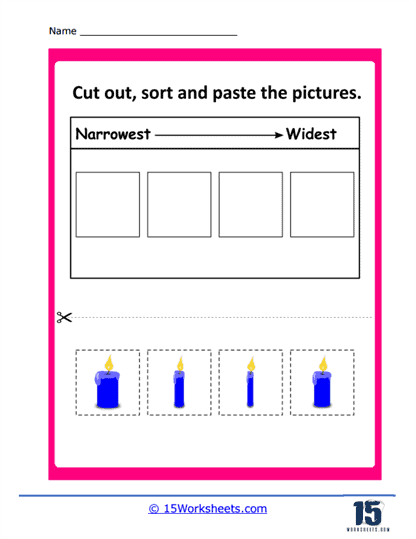
Narrowest to Widest
Students arrange items from the narrowest to the widest. It builds sequencing and comparative reasoning. It highlights how measurement applies to width.
Labelling Widths
Learners label objects as narrow, wide, or somewhere in between. It strengthens understanding of width vocabulary. It pairs descriptive language with measurement.
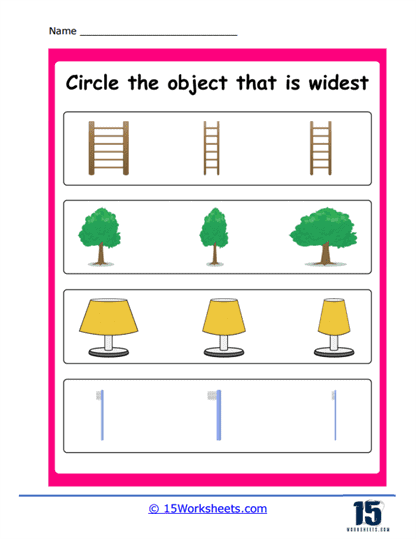
The Widest
Students identify the widest object in a group. This helps them recognize extremes in width. It reinforces comparative reasoning through observation.
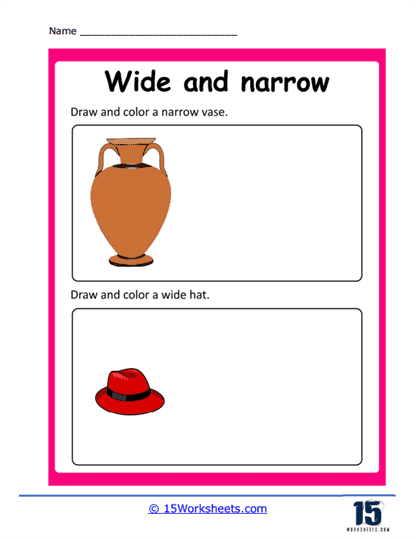
Drawing Widths
Kids draw lines or shapes that match specified widths. It supports hands-on learning through creation. It ties measurement and fine motor skills together.
Sorting Height
Learners sort objects by height (short to tall or vice versa). This practices vertical comparisons visually. It strengthens early understanding of measurement by size.
Who is Tall?
Students identify the tallest object or character from a set. It helps them see differences in height clearly. It makes learning comparative concepts feel fun and familiar.
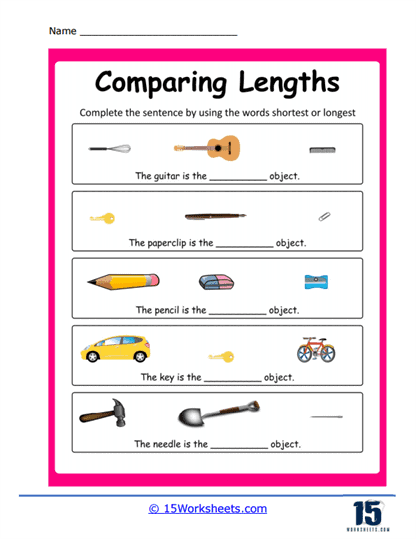
Comparing Lengths
Kids compare lengths of different items and choose the longer or shorter one. It builds foundational skills for measurement and comparison. It turns abstract length into concrete observation.
Ordering Length
Students arrange multiple objects by length from shortest to longest. It enhances sequential thinking and measurement precision. It reinforces how to organize based on size.
Tall or Short
Learners label objects as tall or short using visual prompts. It connects measurement vocabulary with real-world understanding. It’s a friendly intro to comparing vertical size.
When Do We Compare Measurement in the Real World?
Cooking and Baking – We often compare measurements when preparing food. For example, a recipe might call for a certain amount of an ingredient, and we have to measure that out accurately. We compare the amount we’ve measured to the amount required by the recipe.
Construction and Engineering – Measurements are compared constantly in these fields. An engineer might compare the size of a component they’re designing to the available space in the device it will be installed in. A construction worker might compare the length of a piece of wood they’ve cut to the length specified in the building plans.
Shopping – When shopping for clothes, furniture, appliances, or other items, we often compare measurements. This can be to ensure that an item will fit in a particular space, or that a piece of clothing is the right size.
Travel – We compare measurements when planning a trip or navigating. This can include comparing distances between locations, comparing the size of a suitcase to airline carry-on restrictions, or comparing the size of a parking space to the size of your car.
Fitness and Health – In personal health and fitness, we often compare measurements such as weight, height, body mass index (BMI), blood pressure, and other health indicators. We might compare our current measurements to past measurements, or to recommended healthy ranges.
Scientific Research – Comparing measurements is a fundamental part of scientific research. Scientists might compare the results of an experiment to the results of a previous experiment, or compare the measurements taken in a study to the predictions of a scientific theory.
Environmental Monitoring – In environmental science, measurements are compared over time to detect changes and trends. This might involve comparing current temperature measurements to past records, or comparing the size of a glacier or forest area over time.
How to Teach the Difference Between Heavy and Light
Teaching the concept of heavy and light, especially to young children, can be a fun and interactive process. Here are some strategies to help them understand these concepts:
Make Direct Comparisons – Start with two objects that have a clear difference in weight. For instance, a feather and a book. Ask the child to lift both and ask which is heavy and which is light. This direct experience allows them to understand the concepts of ‘heavy’ and ‘light’.
Use Familiar Objects – Use everyday objects that the child is familiar with. For example, a stuffed toy might be light while their school backpack might be heavy. By relating the concepts to their daily life, they will understand better.
Create a Sorting Game – Collect a variety of items with differing weights. Ask your child to sort them into two groups – heavy and light. This will help them develop their understanding of weight and the ability to compare different weights.
Scales and Balance – If possible, use a balance scale to show the difference between heavy and light objects. Place an object on each side of the scale and let the child observe which side goes down (heavier) and which side goes up (lighter). This visual demonstration can reinforce the concepts of heavy and light.
Teaching Students the Difference Between Wide and Narrow
Start by using everyday objects around your home or classroom, such as a narrow pencil and a wide book. Ask the child to observe and feel the difference between the two. You can also demonstrate these concepts physically – for instance, open your arms wide and then bring them close together to illustrate narrowness.
Visual aids can also be a powerful teaching tool. Show them pictures of wide and narrow things like roads, rivers, and doorways. You can further deepen their understanding by setting up interactive activities. For instance, set up two parallel lines – one wide apart and another narrow, then ask the children to walk, hop, or jump between the lines.
Storytelling and books are other effective ways to teach these concepts. Children’s books that illustrate the concepts of wide and narrow can make these abstract ideas more tangible and easier to grasp. Additionally, have your child draw wide and narrow objects and follow this activity with a discussion on why they perceive each object as wide or narrow. Remember, the key is to keep the learning process fun and engaging, and regular practice and reinforcement in a variety of contexts will help them understand and remember the difference between wide and narrow.
Comparing Length of Objects
Comparing the length of objects is a fundamental concept in measurement. Here are some steps you can follow:
Choose Your Objects – First, choose the objects that you want to compare. Try to pick objects that have a clear length, like a pencil, a book, or a piece of string.
Identify a Common Measure – Choose a common unit of measurement to compare the objects. This can be a ruler, a measuring tape, or even a non-standard unit like the length of your foot or a piece of string.
Measure Each Object – Use your chosen unit of measurement to find the length of each object. If you’re using a ruler or measuring tape, you’ll want to line up one end of the object with the zero mark on your measuring tool, then read the measurement at the other end of the object.
Record Your Observations – It can be helpful to write down your measurements and observations. This can make it easier to remember and compare the lengths of different objects, especially if you’re comparing more than two.