Using Protractors Worksheets


About These 15 Worksheets
Using protractors worksheets are educational tools designed to teach students how to measure and draw angles using a protractor. These worksheets are essential for developing geometric skills in elementary and middle school students, providing a hands-on approach to understanding angles, their measurements, and how they form the basis for more complex geometrical concepts. By working with these worksheets, students gain practical experience in handling a protractor, which is a crucial instrument in both academic studies and various professional fields such as engineering, architecture, and design.
From basic angle identification to complex real-world applications, these worksheets prepare students for academic and real-life situations involving geometry. By mastering the protractor, students not only enhance their mathematical skills but also develop a toolkit that will assist them in many future endeavors, both educational and professional.
Types of Exercises
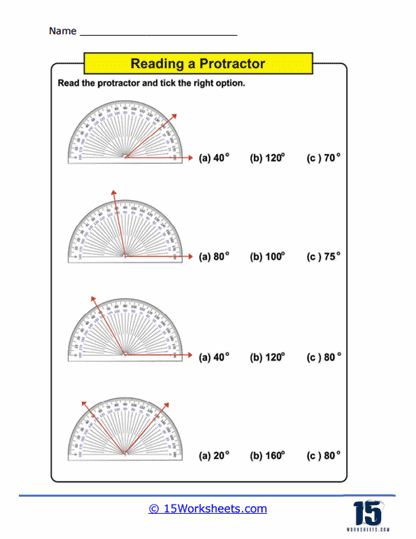
Identifying Angles – These exercises introduce students to basic angle types-acute, obtuse, right, and reflex. Worksheets may display various angles on a page, and students are tasked with labeling each angle correctly based on its measure. This exercise helps students visually differentiate between angles and provides a foundational understanding necessary for more precise measurements.
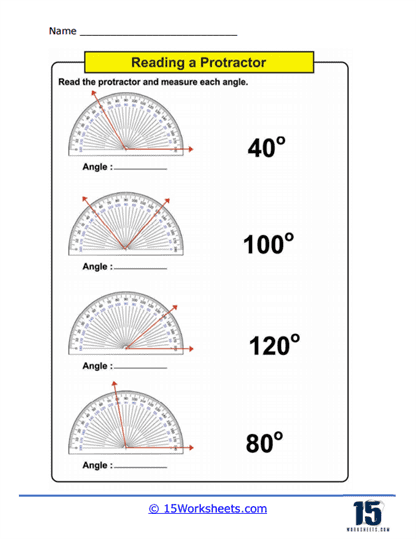
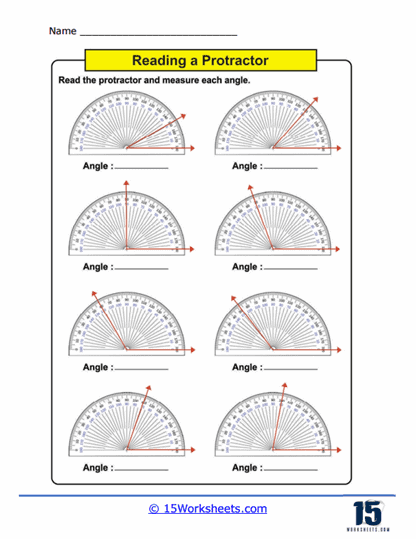
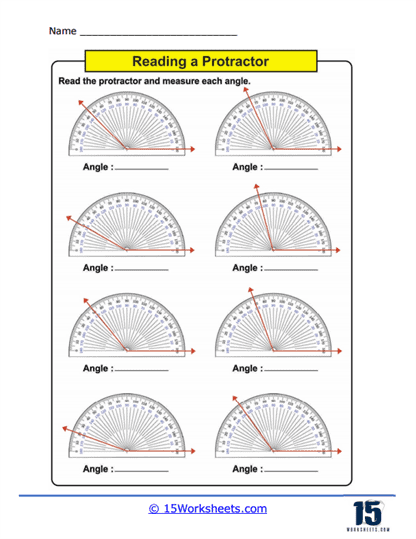
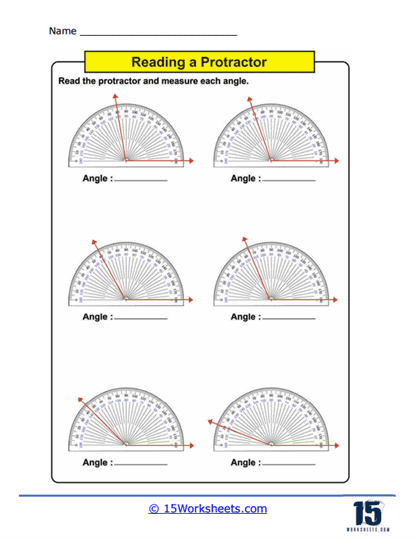
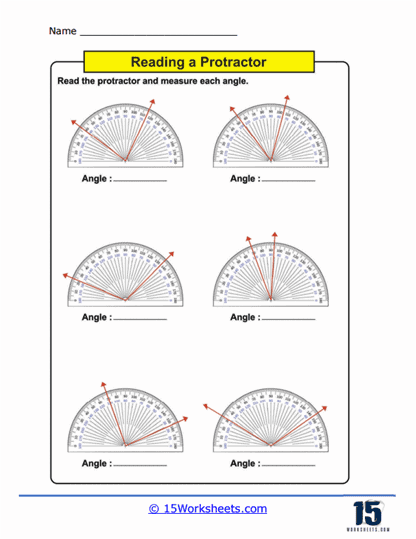
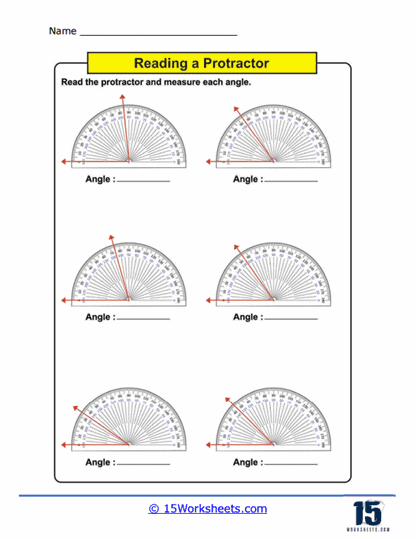
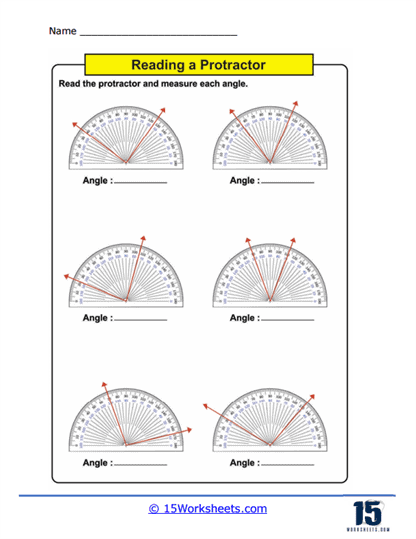
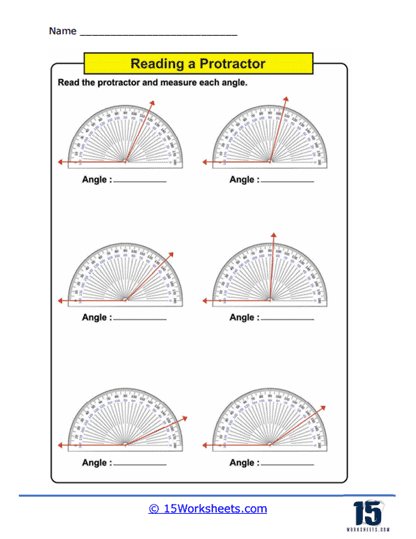
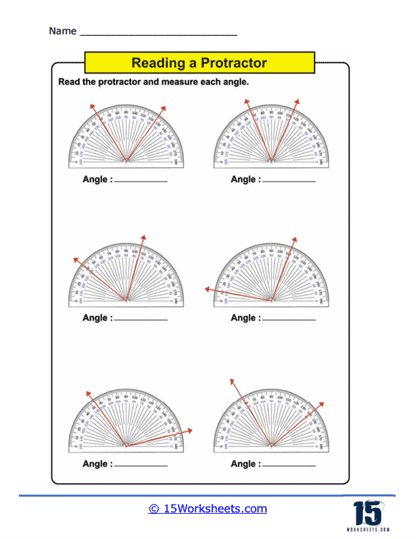
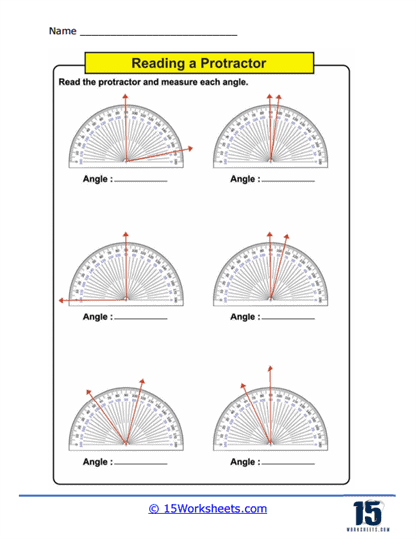
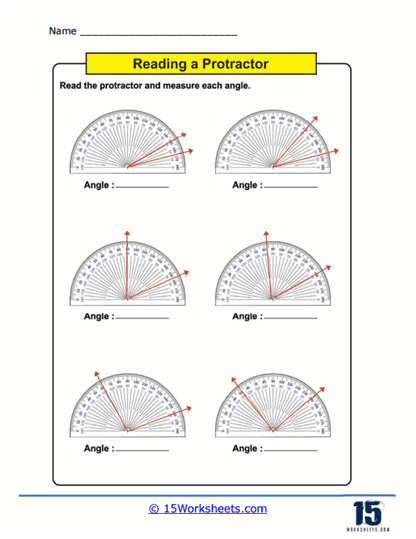
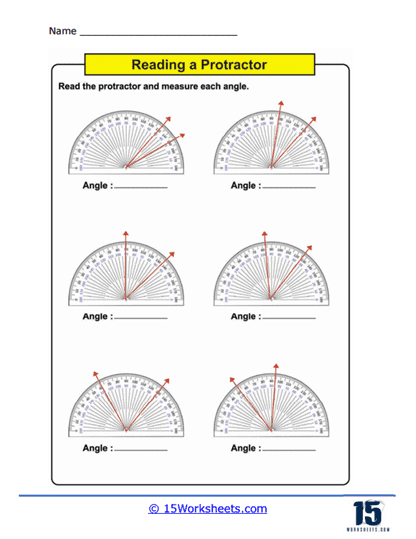
Measuring Angles – This is the core activity in using protractors worksheets. Students use a physical or printed protractor on the worksheet to measure given angles. The angles are typically part of larger diagrams or standalone figures where students must align the protractor correctly and read the measurement to the nearest degree. This practice not only enhances their ability to use the tool but also improves their accuracy in reading and interpreting degrees on a circular scale.
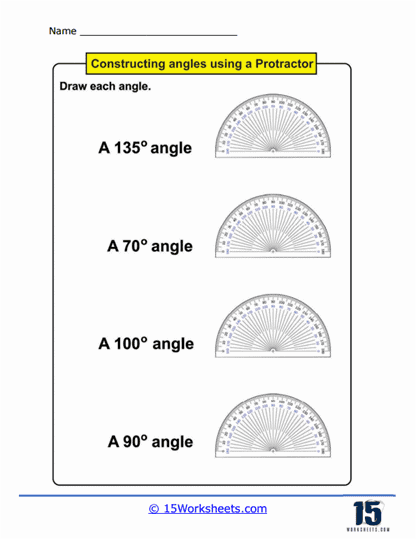
Drawing Angles – In these exercises, students are given specific angle measurements and are required to use a protractor to draw an angle accurately. This might involve drawing an angle from a given vertex and ray or adding an angle to an existing line. Drawing angles helps students apply their knowledge of angle measurement in a creative and practical manner, reinforcing the skills of setting the protractor and marking the degrees.
Estimating Angles – Before measuring with a protractor, it is beneficial for students to estimate the size of an angle. These exercises challenge students to guess the measurement of an angle before using the protractor to measure it. This activity sharpens their intuition about angles and provides a practical way to check their estimation skills against actual measurements.
Calculating Angle Sums – These worksheets often include exercises where students must find the sum of angles in a polygon, helping them apply the angle sum property of polygons. For instance, students may measure individual angles of a triangle or quadrilateral and then calculate the total sum to verify the geometric properties of these shapes (e.g., a triangle always adding up to 180 degrees).
Comparing Angles – Some worksheets may ask students to measure two angles and determine which is larger or if they are equal. This type of exercise is particularly useful for reinforcing comparative reasoning and for exercises involving ordering angles by size, which can be a stepping stone to understanding more complex geometric principles.
Using Angles in Real-Life Contexts – Advanced worksheets may include scenarios where students must apply their knowledge of angles to solve real-life problems, such as determining the angle between a ladder and the ground or the angle of elevation from an observer’s point of view to the top of a building. These problems make the abstract concept of angles more tangible and relevant. Some protractor worksheets integrate other subjects, such as art, by having students create designs using specific angle measurements. This integration helps maintain student engagement and shows the practical application of geometry in creative disciplines.
Angle Bisectors – Exercises might also involve using a protractor to bisect a given angle. Students will measure the angle, calculate half its measurement, and then use the protractor to draw the bisector accurately. This task combines both measuring and drawing skills and enhances understanding of geometric constructions.
What Is a Protractor?
A protractor is a measuring instrument, typically made of transparent plastic or glass, used for measuring angles or marking them out. It is an essential tool in geometry, drafting, architecture, and various engineering disciplines. The standard protractor design is a semi-circle or a full circle marked with degrees from 0 to 180 or 0 to 360, respectively. This tool allows users to accurately determine the angle between two intersecting lines or to create an angle of specific degrees, facilitating precise geometric constructions.
Uses of Protractors
Protractors are predominantly used in educational settings to teach students the basics of geometry, specifically how to measure and construct angles. They are also crucial in professional fields that require precise angle measurements:
Education – In classrooms, protractors help students understand angles, an integral part of geometry. Learning to measure and construct angles accurately is foundational for more complex mathematical concepts and applications.
Engineering and Architecture – Engineers and architects use protractors to design buildings, machinery, and systems that require exact angular measurements for proper assembly and function.
Art and Design – Artists and designers often use protractors to create works that require specific angular designs, ensuring symmetry and proportion.
Navigation – Protractors are used in navigation to plot and measure course directions on maps.
How to Use and Read a Protractor
Using a protractor involves several steps, each of which requires attention to detail to ensure accuracy:
Step #1 – Positioning the Protractor
– Place the protractor on the paper or surface where the angle measurement is required.
– Ensure the midpoint of the straight edge (often marked by a small hole or cross-hair) of the protractor’s flat bottom aligns exactly with the vertex (the point where the two lines of the angle meet).
-One of the arms of the angle should align with the zero-degree line on the protractor.
Step #2 – Reading the Protractor
– Observe which scale of the protractor you should use. If the zero on the outer scale of the protractor aligns with one arm of the angle, use this scale to read the angle.
– If using a half-circle (180-degree) protractor, ensure the angle’s other arm extends across the protractor’s surface. If using a full-circle (360-degree) protractor, note that the measurement might extend beyond the 180 degrees, and you’ll need to calculate the total angle by considering it extends into the other half of the protractor.
– Note where the second arm of the angle intersects with the numbered graduations on the protractor. This number is the measure of the angle.
Step #3 – Ensuring Accuracy
– Double-check that the vertex is correctly aligned and that one arm of the angle is still pointing at zero.
– Make sure your eye level is directly above the vertex when reading the measurement to avoid parallax error (an error caused by viewing from an angle).
Step #4 – Drawing Angles
– To draw an angle of a specific measurement, place the protractor on the paper and mark a dot at the vertex.
– Draw a line from the vertex through the zero-degree line to your desired length.
– Without moving the protractor, find the degree mark corresponding to your desired angle measurement. Mark this point on the paper.
– Remove the protractor and draw a line from the vertex through the marked point. This line forms the second arm of your angle.
Using a protractor effectively requires practice to develop proficiency in positioning, reading accurately, and drawing precise angles. Mastery of these skills is beneficial across various fields and activities, providing a fundamental understanding of geometric principles.