Graduated Cylinders Worksheets


About These 15 Worksheets
In the domain of scientific experimentation and measurement, the ability to accurately measure and record the volume of liquids is paramount. Graduated cylinders are one of the most commonly used tools for this purpose. They offer a clear, consistent means to measure liquid volumes with much greater precision than beakers or flasks. This set of worksheets were designed to help students learn how to use this vital science lab tool correctly and understand its importance in various scientific applications.
The focus of these worksheets are on teaching students the correct way to read and interpret the markings on a graduated cylinder. Given that the meniscus (the curve formed by a liquid in response to its container) can cause reading errors, these worksheets help in training students to read from the bottom of the meniscus. The exercises within such worksheets range from basic reading tasks to more complex problems that integrate volume measurement into broader scientific concepts.
Types of Exercises on These Worksheets
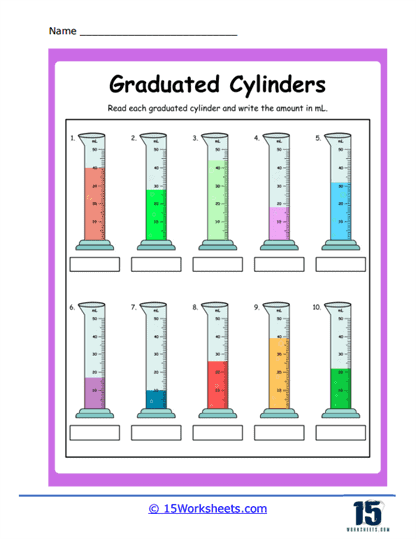
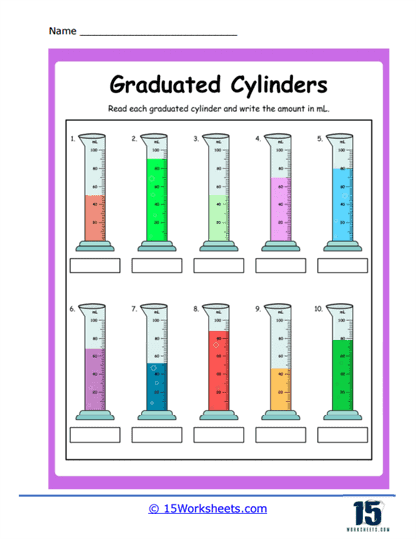
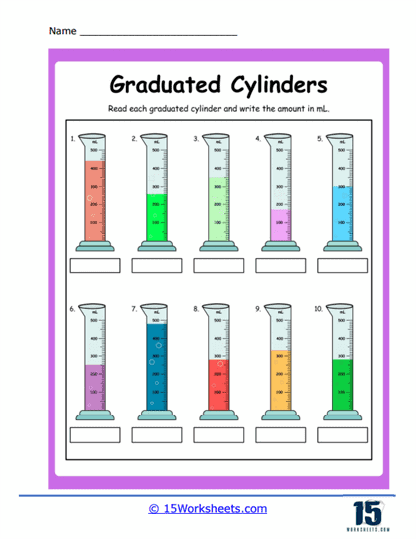
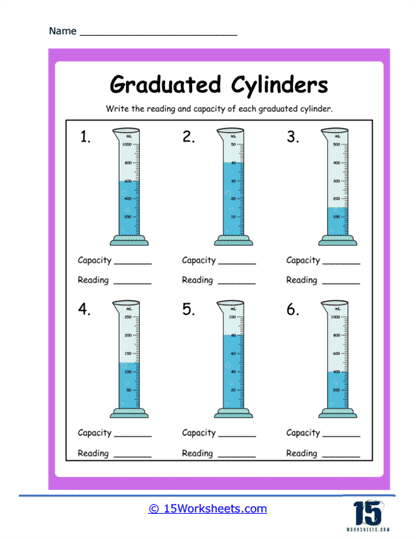
Graduated cylinders may seem like quiet little tools of the science lab, but in the hands of students armed with these worksheets, they become the center of intense observation, deductive reasoning, and the occasional spilled beaker of imaginary liquid. In Reading in mL, Graduated Cylinder Practice, Small and Large Volumes, What is the Amount, and How Much Liquid, students are introduced to the art of reading liquid measurements from a curved line that seems determined to test their focus. These worksheets train young scientists to spot precise milliliter levels while dodging the optical illusions of the meniscus. Whether it’s a tiny puddle or a nearly bursting tube, the challenge lies in observation, patience, and not mistaking 18 mL for 81 mL-a rookie error of tragic proportions.
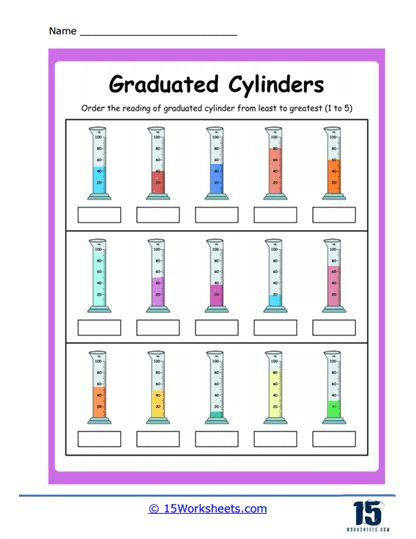
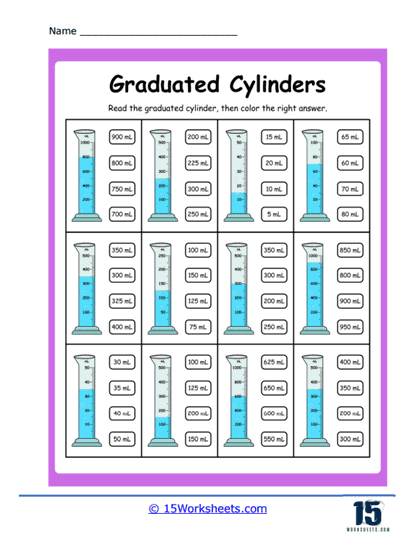
Once students can read measurements confidently, the worksheets shift into comparison mode. In 50 mL or More and Least to Greatest, learners analyze a group of cylinders and flex their logic muscles. Is that one just past the halfway mark? Is this one barely filled, or is it deceiving you with thick lines? These exercises turn cylinders into contestants in a volume pageant-ranked, judged, and categorized without mercy. Reading Capacity adds another layer of depth by pushing students to not just read what’s there, but to anticipate what could be there. It’s the worksheet equivalent of asking, “Don’t just see what the world is-imagine what it could hold.”
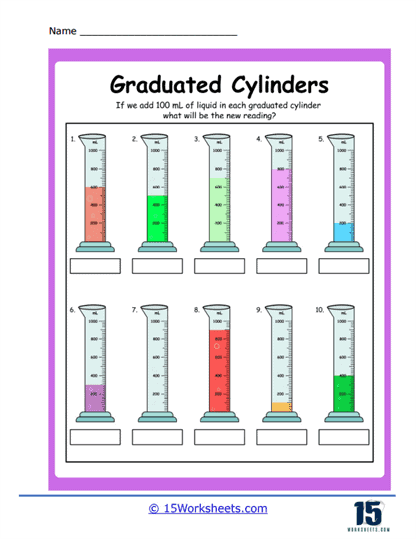
In Adding 100 mLs and Removing 50 mLs, math and measurement collide in the great liquid juggling act. These worksheets ask students to picture themselves as lab techs mid-pour: adding fluids, subtracting amounts, predicting outcomes. They must calculate what the final reading will be, based on mental simulations of invisible hands carefully adjusting the levels. It’s a liquid logic puzzle where imagination does half the work and arithmetic does the rest.
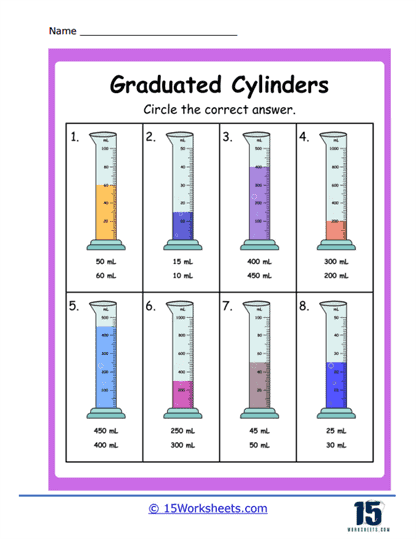
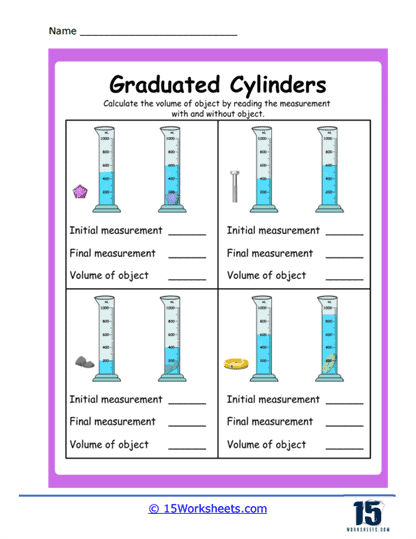
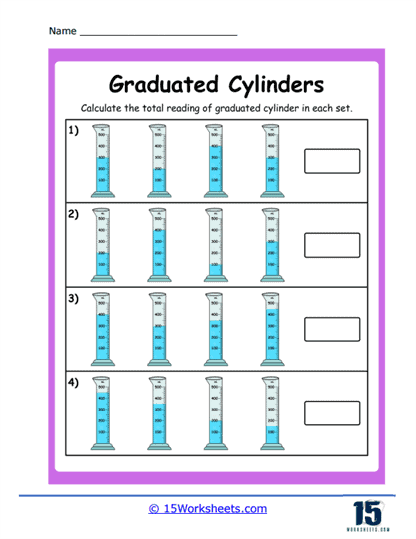
A more visual and artistic set of worksheets introduces challenges that blend science with perception. In Circle Correct Amount, students identify the exact amount depicted in a drawing, choosing from deceptively similar options. Coloring the Volume and Shading Volume offer a more creative twist-students must physically mark the correct fill level, essentially illustrating their understanding with a pencil. With and Without Objects introduces displacement, where adding a solid item to the liquid reveals new volume mysteries, while Multiple Graduated Cylinders brings it all together with side-by-side comparisons, asking students to evaluate and interpret multiple measurements at once like a seasoned scientist in the lab.
Behind all the circling, coloring, and calculating, there’s something sneakily philosophical going on. These worksheets-especially ones like Reading Capacity, Adding 100 mLs, Removing 50 mLs, and With and Without Objects-encourage students to think beyond the number on the side of the cylinder. They begin to grasp concepts like potential, change, and transformation. A container isn’t just holding liquid; it’s part of an ongoing story of movement and possibility. And through these clever, engaging, and sometimes hilariously precise worksheets, students aren’t just learning about volume-they’re learning how to see it.
What Do These Worksheets Teach Students?
Precision in Measurement – One of the fundamental lessons is the importance of precision in scientific measurements. A minor error can significantly impact experimental results, so mastering the art of reading a graduated cylinder correctly is crucial.
Understanding of Liquid Behavior – Through exercises involving the meniscus or volume displacement, students learn more about how liquids behave in containers and when other objects are introduced.
Application of Knowledge – By integrating real-world and experimental scenarios in the exercises, students learn to apply their measurement skills in diverse contexts, seeing the relevance and importance of their learning.
Critical Thinking and Analysis – Worksheets that include error identification or predicting outcomes force students to think critically about what they know and analyze scenarios for accuracy.
Scientific Principles and Theories – Beyond just measurement, these worksheets can introduce and solidify broader scientific principles, like Archimedes’ principle, ensuring students don’t learn in isolation but see the broader context of their knowledge.
This group of worksheets can transform a seemingly simple tool-a cylinder with markings-into a window into the world of precise measurements, liquid behavior, and foundational scientific principles. They ensure that students not only learn the mechanical process of reading a graduated cylinder but also appreciate the importance of accuracy, the behavior of liquids, and the broader applications of volume measurement in science. As students engage with these worksheets, they are equipped with vital skills and knowledge that prepare them for more advanced scientific endeavors.
Reading a Graduated Cylinder Properly
Reading a graduated cylinder properly involves carefully observing the meniscus, which is the curved surface of the liquid inside the cylinder, and taking into account the calibration markings on the cylinder.
Position yourself at eye level with the graduated cylinder. This means your eyes should be at the same level as the liquid surface inside the cylinder.

The meniscus is the curved surface of the liquid inside the cylinder. It is often concave, with the center of the curve being lower than the edges. Read the volume at the bottom of the meniscus, not the top or middle. To read the meniscus accurately, look at the point where the liquid level meets the graduated scale.
Graduated cylinders come in various sizes and have different scales. Some may have a single scale (e.g., milliliters), while others may have multiple scales (e.g., milliliters and fluid ounces). Identify the smallest division (e.g., milliliters) on the scale, which represents the precision of the measurement. For example, if the smallest division is 1 ml, you can estimate readings to the nearest 1 ml. Record the volume by noting the number on the scale that corresponds to the bottom of the meniscus.
If the meniscus falls between two markings on the scale, estimate the measurement based on the divisions. For example, if the meniscus is between the 20 ml and 21 ml marks, you can estimate the volume as 20.5 ml.
Always remember to handle the graduated cylinder with care to prevent spills or damage, and double-check your reading to ensure accuracy. If you need a highly precise measurement, use a graduated cylinder with a scale appropriate for your needs and take your time to make an accurate reading.