Reading Rulers Worksheets


About These 15 Worksheets
Okay, so here’s the deal-rulers look like boring little sticks with numbers, right? But once kids actually use them, it’s like unlocking a secret code. Suddenly they’re spotting fractions, counting in centimeters, and realizing that all those tiny lines actually mean something. These worksheets make that whole “mystery of the ruler” way less scary and way more like a game.
The sneaky part is how much kids are actually learning while they think they’re just measuring scissors or paintbrushes. They’re building accuracy, learning to switch between inches and centimeters, and paying attention to the tiniest details. And because some of the pages are themed-hearts, wild rulers, even goofy objects-it feels less like math homework and more like a little adventure.
And honestly, rulers aren’t just for math class. These worksheets connect measuring to everyday life-like checking how tall they’ve gotten, guessing lengths before measuring, or figuring out the size of their art supplies. The whole point is giving kids confidence so that when they grab a ruler, they don’t just shove it back in the pencil box. They’ll actually know how to use it.
Have a Look Inside Each Worksheet
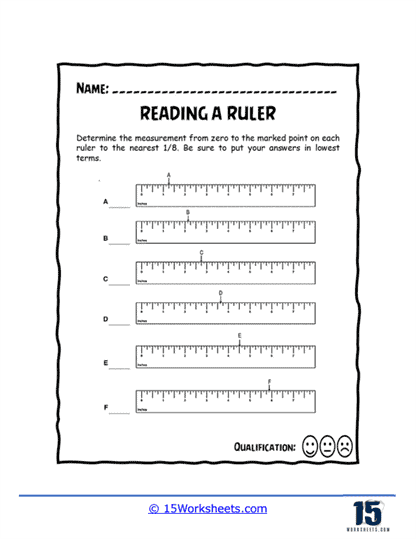
1/8 Inch Rulers
In this worksheet, students practice reading ruler markings divided into eighth-inch segments. They measure objects carefully and write down the lengths using fractions. It’s a neat way to build fractional understanding while feeling like mini-scientists. This sheet supports learning about reading precise ruler measurements in a playful way.
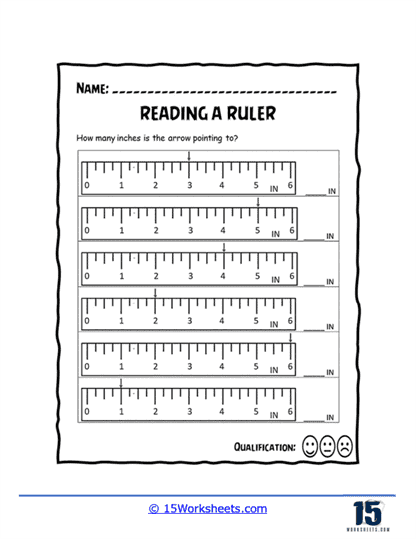
Reading Inches on Rulers
Here, children read standard inch markings and record lengths in whole-inch units. They sharpen their ability to recognize and interpret ruler intervals quickly. The activity feels like a measuring race, building confidence in everyday measurement. It reinforces the core skill of reading inches accurately.
Reading 1/16 Inch Rulers
This one dives deeper into fractions with sixteenth-inch divisions-great for precision pros in the making! Kids carefully find and note down these tiny intervals, fine-tuning their attention to detail. It’s like training tiny detective eyes to spot the littlest marks. This helps develop advanced ruler-reading skills with fine fraction increments.
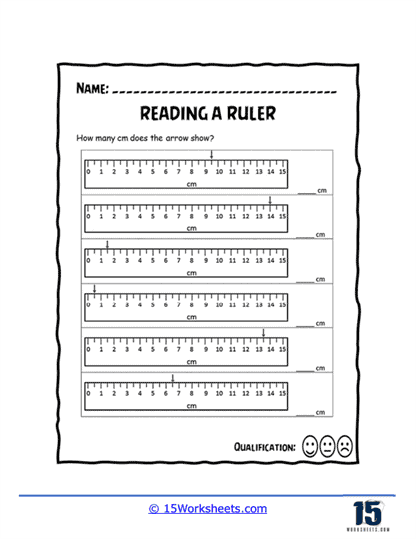
Reading Centimeter Rulers
Switching systems, this worksheet focuses on centimeters and millimeters, helping kids read metric units. Learners practice measuring small objects accurately using metric scales. It’s a fun way to introduce a whole new system-like exploring a different measuring world! It builds foundational practice in metric reading skills.
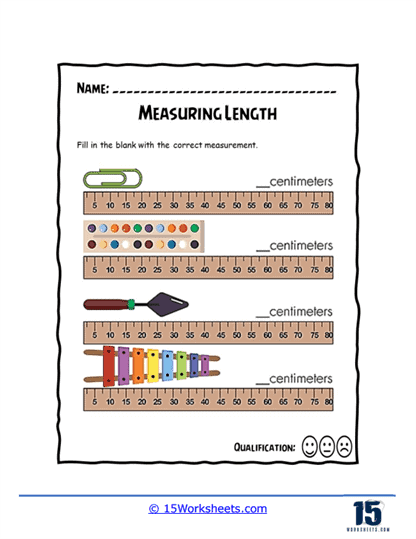
Paperclip Lengths
Students measure everyday items-like paperclips-and write down their lengths. It turns ordinary objects into measuring tools, bringing math right into kids’ hands. This simple yet playful approach helps them connect measurement to real life. It strengthens practical measurement understanding.
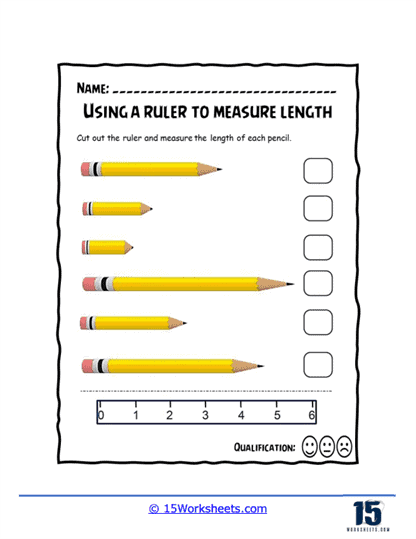
Using Paper Rulers for Length
This worksheet allows students to use printable, paper rulers-perfect when physical rulers aren’t on hand. They measure objects and note the measurements, practicing ruler skills in a portable way. Kids feel empowered measuring anything, anywhere! It supports flexible options for learning ruler usage with DIY tools.
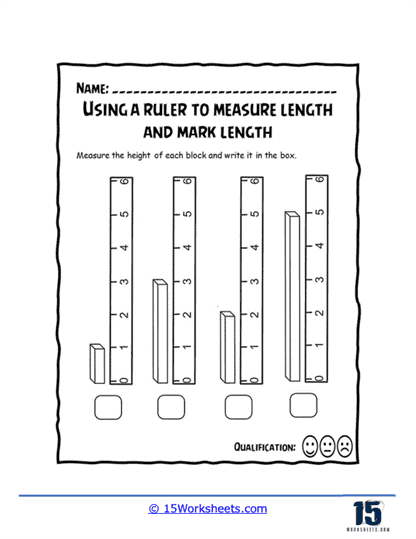
Vertical Rulers
Here the ruler is positioned vertically-students learn to measure top-to-bottom instead of side-to-side. It teaches measurement from a different orientation, which is great for spatial skills. The change of perspective keeps things fresh and fun! It reinforces measurement versatility and spatial awareness.
Eyeball Measures
Kids estimate the length of items using their eyesight before measuring with a ruler. It’s a playful way to guess and then check accuracy, turning measurement into a friendly challenge. The “gotcha” moment when the ruler confirms or surprises them is pure delight! This sheet supports estimation skills alongside actual measurement.
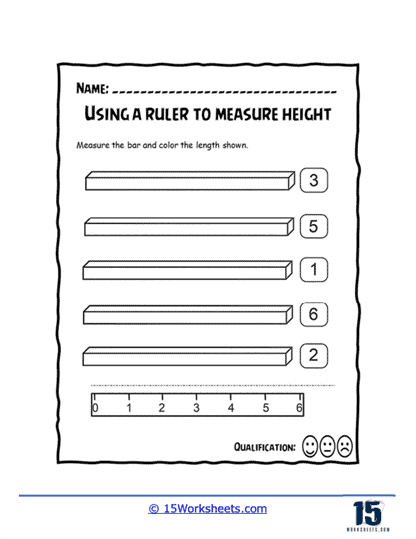
Bar Length Worksheet
Students measure colored bars and record their lengths-great for comparing measurements visually. It’s like a mini bar-graph lesson mixed with ruler practice. The colorful bars make it easy to compare lengths and stay engaged. It supports visual comparison and measurement skills.
Measuring Scissors
Here, children measure the length of a pair of scissors using a ruler template. It brings a fun, real-world object into the measuring game. Kids feel like little engineers checking tools! This helps make measurement meaningful and relatable.
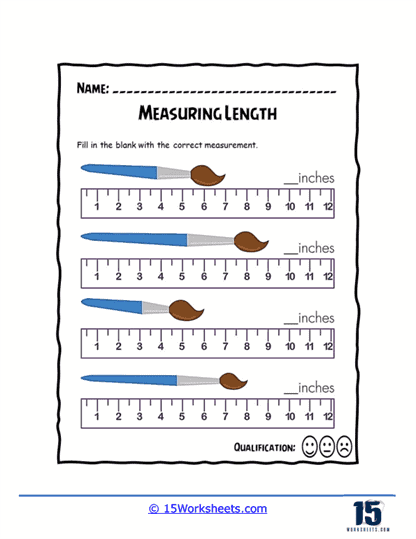
Paintbrush Length
Students measure various paintbrushes, combining art and math. It encourages creativity while reinforcing measurement skills-like mixing two best buddies. Learners can even imagine themselves painting while measuring. It strengthens cross-disciplinary learning between art and measurement.
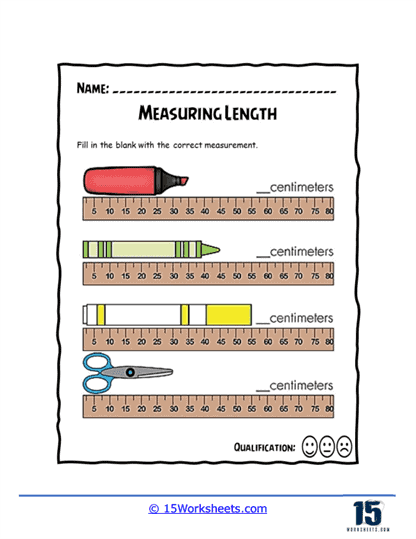
Centimeter Measures
This sheet focuses on reading and writing measurements in centimeters-great for metric practice. It solidifies recognition of metric units and encourages precise recording. Straightforward, clear, and perfect for building confidence. It targets metric measurement fluency.
Wild Ruler Measures
This fun worksheet might use quirky shapes or unexpected layouts, inviting kids to measure items “in the wild.” It adds novelty, keeping measurement from feeling repetitive. Students get excited by the “wild” twist-and learn through play. It encourages creative measurement thinking.
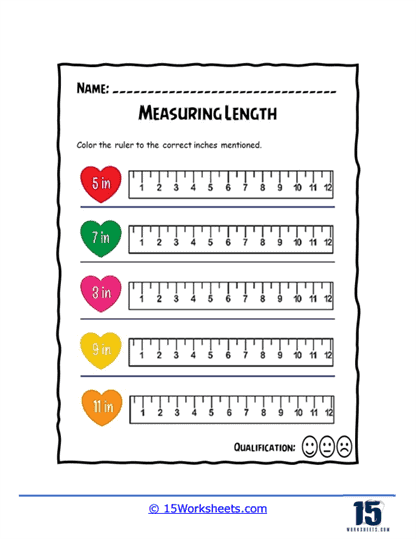
Have a Heart
Here, students measure heart-shaped objects or lengths and connect measurement with a bit of sweetness. It’s heartwarming and heart-shaped-perfect for Valentine’s Day or just for fun! This one brings a playful, thematic twist to ruler practice. It promotes engaging measurement through thematic content.
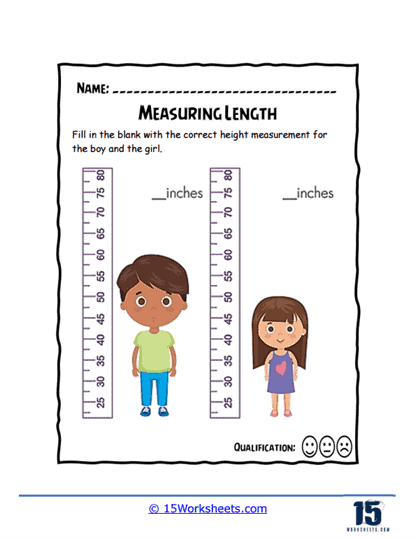
Height in Inches
Kids measure heights in inches-maybe of objects or themselves-and write down the results. It personalizes measurement, especially if they measure their own height! It’s fun and builds personal connection to math. It helps with self-referential measurement learning.
What Are Rulers?
Rulers are measuring tools used to determine the length, width, or thickness of an object or to draw straight lines. They are typically flat, rectangular, and made of various materials like plastic, metal, or wood. Rulers come in different sizes and units of measurement, with the most common being the imperial system (inches, feet) and the metric system (centimeters, millimeters).
There are several types of rulers, including:
Standard Ruler: This is the most common type of ruler, typically 12 inches (30 centimeters) long, with markings for inches and centimeters or millimeters. It’s used for measuring everyday objects and drawing straight lines.
Tape Measure: A flexible, retractable ruler made of metal or plastic, used for measuring larger distances or curved surfaces. They come in various lengths, with some measuring up to several meters or feet.
Architect’s Scale Ruler: A specialized ruler used by architects and engineers for drafting and measuring scaled drawings. It has multiple scales, allowing the user to convert measurements between different units or proportions.
Triangular Scale Ruler: A triangular ruler with six different scales, commonly used by architects, engineers, and designers for measuring and scaling drawings in various units or ratios.
T-square: A ruler with a perpendicular head, used in drafting and technical drawing for creating straight lines and right angles.
Protractor: A semicircular or circular measuring instrument with degree markings used for measuring angles, usually in degrees.
Rulers are essential tools in many professions, such as architecture, engineering, graphic design, and woodworking, as well as in everyday tasks that require precise measurement or drawing straight lines.
How Do You Read a Ruler?
Reading a ruler is a basic skill that’s important for measuring lengths and distances. Rulers are typically marked with imperial (inches) or metric (centimeters and millimeters) units. Here’s a step-by-step guide on how to read a ruler:
Identify the Unit of Measurement: First, determine whether the ruler uses imperial (inches) or metric (centimeters and millimeters) units. Imperial units will usually have larger marks for inches and smaller marks for fractions of an inch, while metric units will have larger marks for centimeters and smaller marks for millimeters.
Reading Imperial Rulers
a. Locate the Zero Point: This is the end of the ruler where the measurements start.
b. Identify the Inch Marks: The longest lines on the ruler typically represent inches. They are usually numbered to make it easier to read.
c. Recognize the Fraction Marks: Between each inch mark, there will be smaller lines representing fractions of an inch. These are typically broken down into 1/2, 1/4, 1/8, and 1/16-inch marks. The longer the line, the larger the fraction.
d. Measure the Length: Line up the zero point with the start of the object you’re measuring. The distance between the zero point and the end of the object will be the length in inches and fractions of an inch.
Example: 
- We located the zero point (left) and then we observe that ruler is broken into units of 1/8.
- The object passes 2 Whole Units, we now need to determine the remaining fractional units.
- The fractional portion of the measurement is 2 fractional units, since it is a 1/8 unit scale this means that fractional portion is 2/8.
- When we combine the whole and fractional parts we get a final measurement of 2 2/8 cm.
Reading a Metric Ruler
a. Locate the Zero Point: This is the end of the ruler where the measurements start.
b. Identify the Centimeter Marks: The longer lines on the ruler typically represent centimeters. They are usually numbered to make it easier to read.
c. Recognize the Millimeter Marks: Between each centimeter mark, there will be nine smaller lines representing millimeters. There are 10 millimeters in a centimeter.
d. Measure the Length: Line up the zero point with the start of the object you’re measuring. The distance between the zero point and the end of the object will be the length in centimeters and millimeters.
Practice reading a ruler by measuring various objects and comparing your measurements with others to improve your accuracy and confidence.
Example: 
- We located the zero point (left) and then we observe that ruler is broken into units of 1/4.
- The object passes 3 Whole Units, we now need to determine the remaining fractional units.
- The fractional portion of the measurement is 1 fractional unit, since it is a 1/4 unit scale this means that fractional portion is 1/4.
- When we combine the whole and fractional parts we get a final measurement of 3 1/4 cm.
How to Teach This Skill
Teaching kids how to use rulers is an important skill that helps them understand measurement, spatial relationships, and basic math concepts. Here are some steps and tips for teaching kids to use rulers:
Introduce Rulers
Show them a ruler and explain its purpose. Talk about the different types of rulers and the materials they can be made of (wood, plastic, metal). Teach them about the two main systems of measurement – imperial (inches and feet) and metric (centimeters and millimeters). Explain the difference between the systems and how to identify which one is being used on a particular ruler.
Break It Down Hand-on
Break down the process of reading a ruler step by step, as explained in a previous answer. Show them the inch or centimeter marks, and explain the smaller marks (fractions of an inch or millimeters). Give your child a ruler and have them measure various objects around the house, such as books, pencils, or toys. Encourage them to line up the zero point correctly and read the measurement accurately.
Turn the learning process into a game by having them guess the length of an object before measuring it or creating a scavenger hunt where they have to find objects of certain lengths. Encourage your child to use a ruler when they’re drawing or doing arts and crafts, so they become more familiar with the tool and its uses.