Snowman Worksheets
All About These 15 Worksheets
This collection brings together 15 snowman-themed worksheets designed for kindergarteners (or early learners) to explore Winter through a fun, familiar figure. The idea is to combine seasonal joy with foundational skills: recognizing parts, following directions, forming letters and sounds, and expressing creativity.
Kids get to do lots of hands-on, multi-sensory work: tracing, drawing, labeling, matching, deciding, and creating. The variety means they use fine motor skills (tracing, writing, drawing), cognitive skills (sequencing, categorization, beginning sounds), and creative thinking (drawing, acrostic poem). No two worksheets feel exactly the same, which helps keep engagement high.
Beyond just worksheets, the theme gives learners a cohesive and playful context: snowman parts, snow, winter scenes-all of which many children are excited by. This helps with motivation and makes learning feel like play rather than just repetition. It also introduces vocabulary and winter-related concepts, which helps connect classroom learning to the outside world in winter.
Have a Look Inside Each Worksheet
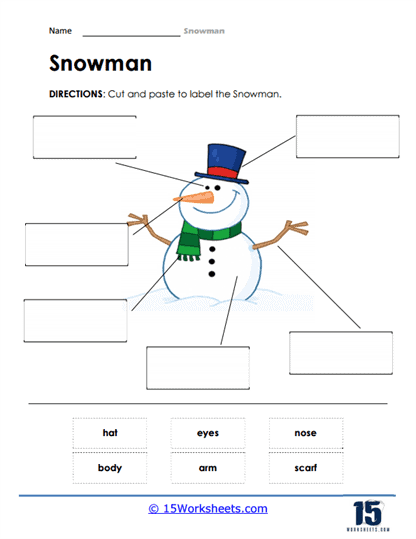
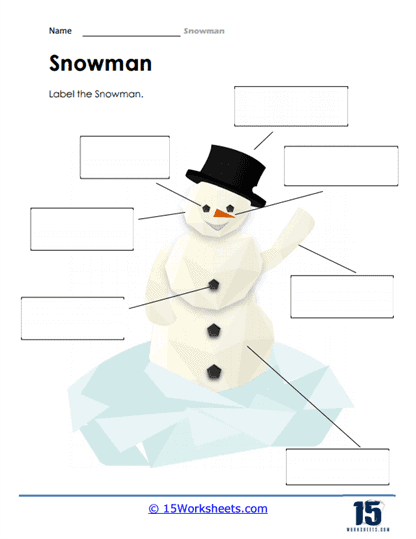
Label The Parts
Students will look at a snowman picture and label its parts (e.g. head, body sections, arms, carrot nose). Builds vocabulary and visual recognition of component parts. Also helps with fine motor skills if writing the labels. Reinforces understanding that objects/creatures are made of parts.
What’s It Doing
Kids observe snowman illustrations and describe what actions or poses the snowman is doing. Encourages observation, description, and perhaps vocabulary (verbs). Enhances speaking or writing skills. Helps link picture with action words.
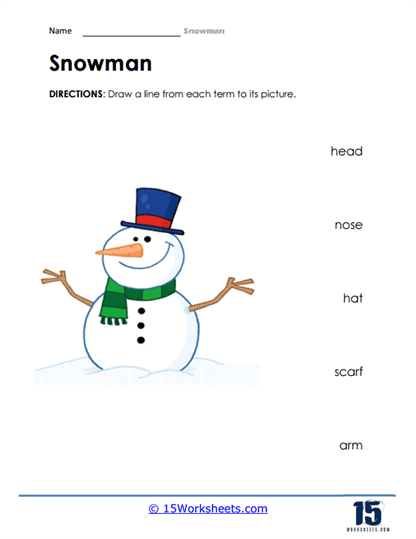
Match The Parts
Students match snowman parts (pictures) with their correct names or corresponding shapes or positions. Reinforces matching, visual discrimination, and vocabulary. Helps cement understanding of snowman structure.
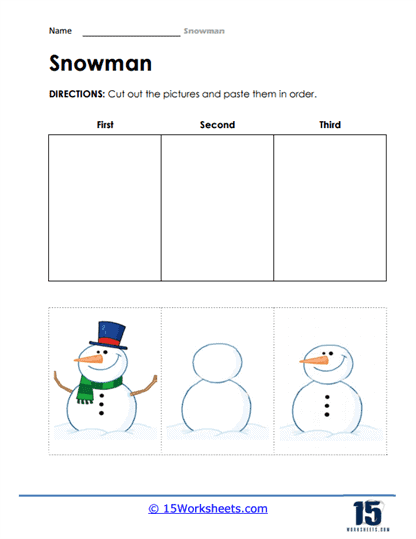
Order the Snowman
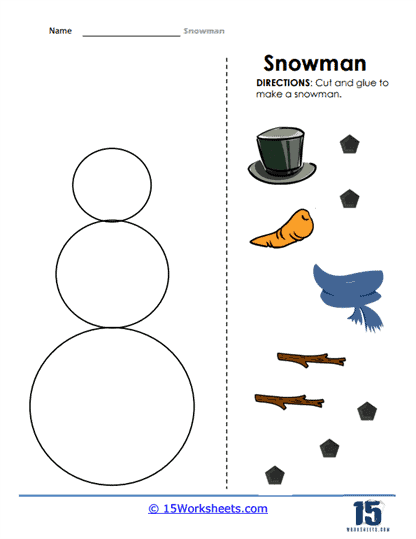
Learners put steps or snowman parts in order (e.g. base → middle → head, or sequence of building). Teaches sequencing and order concepts. Also supports logical thinking. Fine motor work likely involved.
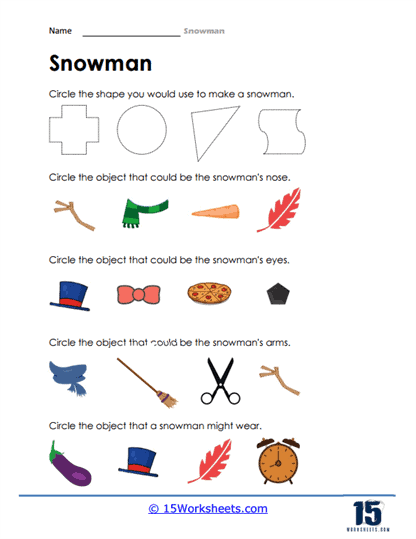
Best Objects to Use
Kids think about what materials or objects work best for parts of a snowman (e.g. what to use for eyes, arms, mouth). Encourages decision making, reasoning, and perhaps creativity. Builds knowledge of materials and suitability. Promotes critical thinking.
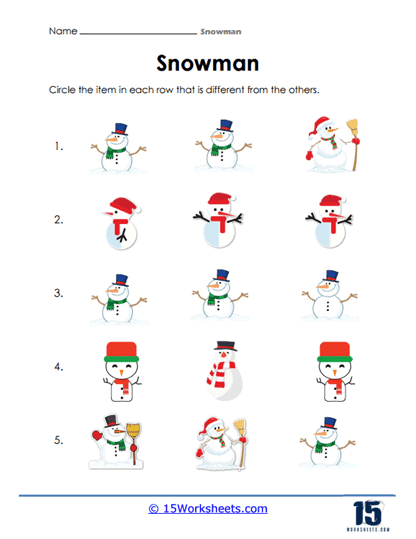
Different Ones
Students identify which picture among a group is different (odd one out) in relation to snowman theme. Helps visual discrimination and categorization. Increases attention to detail. Supports cognitive skills.
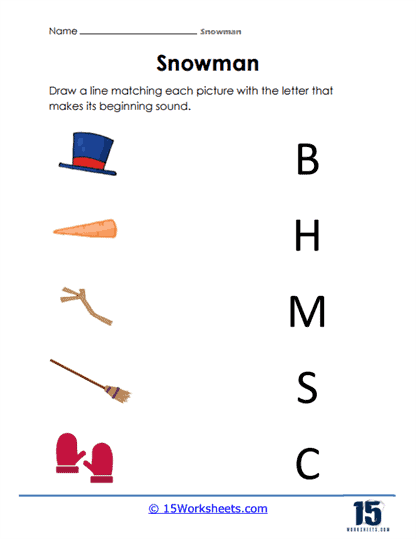
Beginning Sound
Learners identify the initial sound in snowman-themed words. Phonics practice. Reinforces early literacy, distinguishing sounds. Helps with reading readiness.
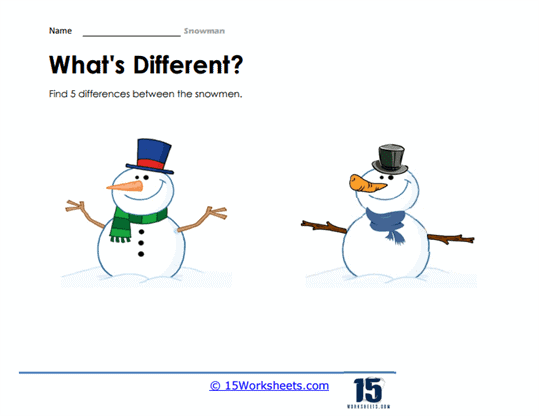
What’s Odd
Another form of odd one out: select what doesn’t belong in a set based on snowman or winter theme. Builds reasoning and visual analysis skills. Helps strengthen vocabulary and classification.
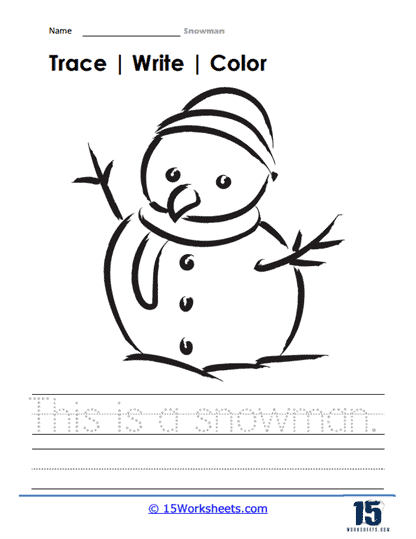
Trace the Sentence
Students trace sentences that are snowman-themed. Practice handwriting, letter formation, spacing. Also helps with literacy: reading sentence, understanding structure. Fine motor skills in tracing.
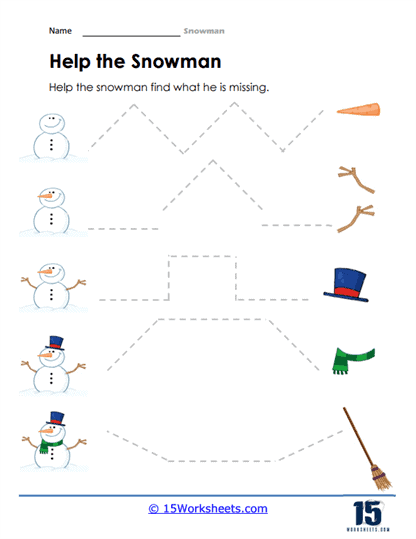
Help the Snowman
Likely a coloring or connect-the-dots or matching activity where students help complete or assist the snowman (e.g. add missing parts). Encourages problem solving and spatial awareness. Fun interactive activity.
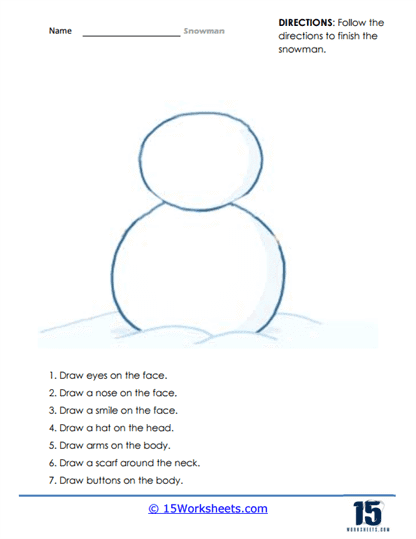
Follow Directions
Learners follow written or verbal directions to draw or color parts of snowman or parts in sequence. Improves listening/comprehension and following multi-step instructions. Supports directions vocabulary. Builds independence.
Make It Snow
Probably an art or counting-oriented worksheet: create snow by stamping, drawing, using shapes or small pieces to simulate snow. Encourages creativity plus fine motor control. Possibly counting or quantity recognition. Fun sensory element.
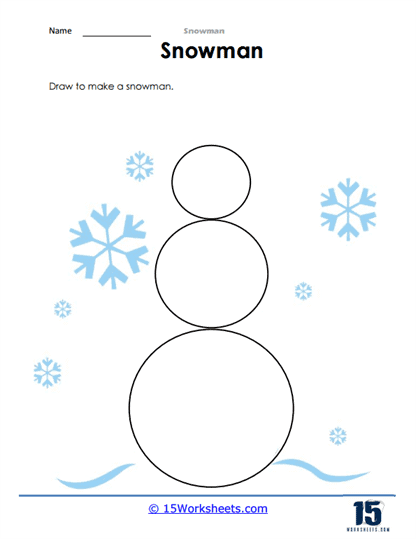
Draw One
Students draw a snowman themselves. Frees creativity, gives practice in shape drawing, proportions. Encourages artistic expression. Helps reinforce parts and structure.
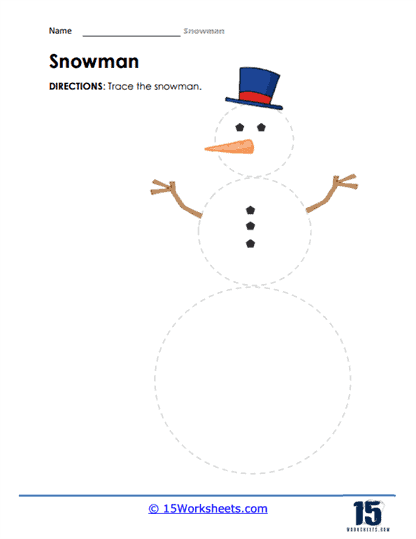
Trace Him
Trace over snowman outlines or parts. Helps with motor control, line following, shape recognition. Builds confidence in drawing and tracing shapes.
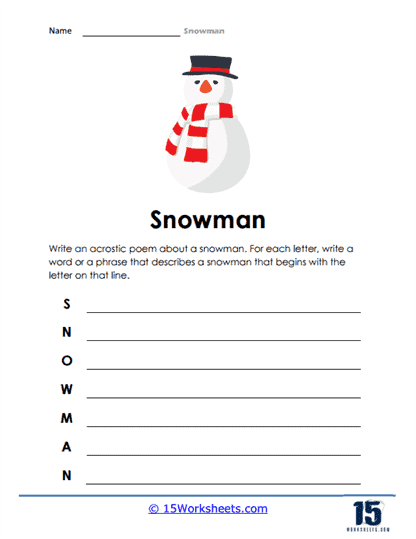
Acrostic Snowman
Students write an acrostic poem using the word “SNOWMAN”-each letter starts a line. Encourages writing, vocabulary, creative thinking. Helps with poetic structure and letter recognition.
How Do You Build a Snowman?
Making a snowman is the ideal way to unwind after cleaning your driveway if you live in an area of the world that has winter snowfall. Even though it seems simple, making a snowman requires science. You must choose the right snow, the ideal location, and ensure that Frosty’s components are assembled properly.
You need to learn how to create a snowman the smart way, from creating the right kind of “legs” to designing a traditional snowman face. Even while making a snowman may seem like “child’s play,” individuals unfamiliar with this art form may not be aware of some essential elements. For instance, why you shouldn’t roll the initial snowball in a single direction. More crucially, if you’re working alone, figure out how to lift a hefty middle ball into place without damaging your back.
Step 1:
Snow is certainly the first thing you need to make a snowman. But not just any snow; you need the ideal snow. Thus, it’s critical to understand your snow. If you are from a region where snowfall occurs frequently, you are aware of the significant differences between wet, sloppy snow and dry, powdery snow. You’re also aware that trying to construct snowmen in the dry, powdery snow will fail.
For anything worth the effort, experts advise that you need around four inches of heavy, moist snow that packs effectively. It is the sort of snow that accumulates on the ground when the temperature is slightly below freezing.
If you can condense some snow in your hands and push it together to form a ball, it’s a strong indication that the snow is suitable for construction. This makes it the ideal moment for both an amazing snowman to be built and a snowball battle to take place. The dry snow shouldn’t prevent you from bringing Frosty to life. Simply spray the area you want to begin building on with your garden hose set to a gentle mist.
Step 2:
As you did previously when you tested to see if the snow was moist enough for construction, put together a snowball to begin things going. Roll the ball forward after setting it down on the ground. Make sure to roll the ball in various directions as it grows to maintain its round form.
Stop rolling the snowball where you want the snowman to be once it has achieved the required size. Keep in mind as you roll that this will be the foundation, which is often the largest of the three balls that constitute a snowman. Once the base is in the proper location, put some snow around the bottom’s edges to prevent it from rolling away. To make it simpler to fasten the next ball, flatten the top of the ball.
Roll a second ball, this time somewhat smaller, using the same method as previously, and place it on top of the base. Make a third head ball that is somewhat smaller than the previous two and immediately place it on top.
Add the Finishing Touches
You can get creative by using some non-traditional ornaments. How to adorn a snowman is more significant than how to build one. Give him a crazy headgear or a Christmas jumper that looks like Santa. Try buttons, stones, or the conventional coal bits for the eyes. Alternately, use anything else you believe will be effective, such as painted ping-pong balls or bottle caps. Your snowman’s lips must follow the same guidelines. Make use of whatever is available; create a grin or any other expression you like.