Decimal Subtraction Worksheets


All About These 15 Worksheets
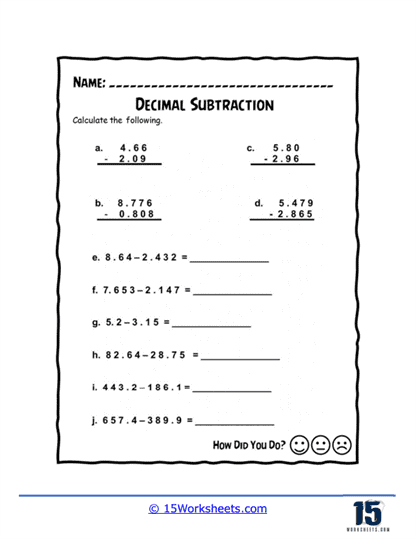
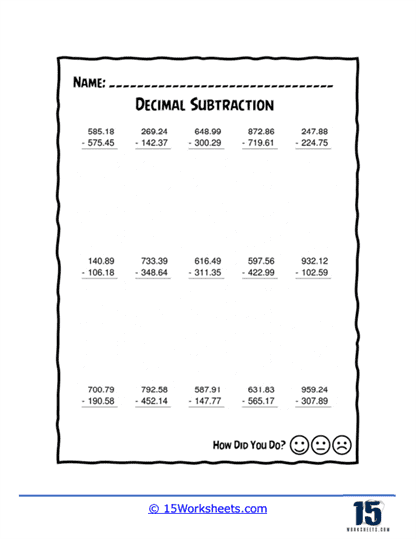
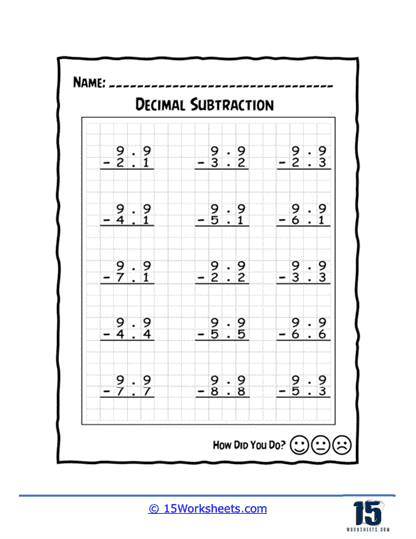
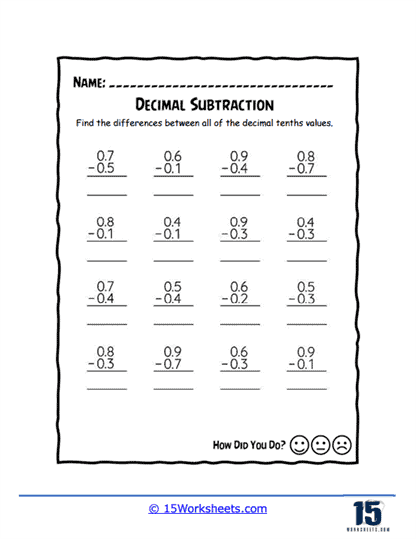
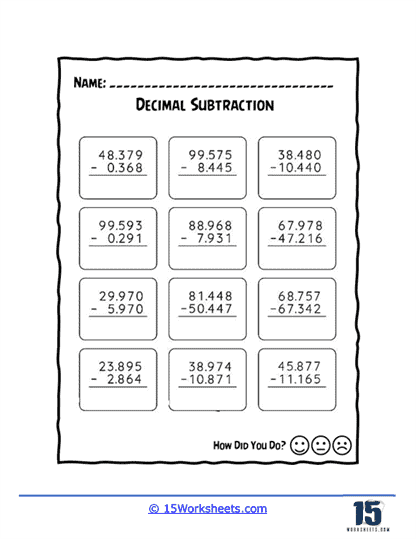
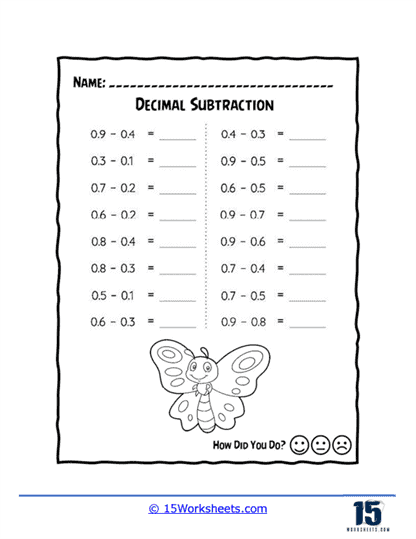
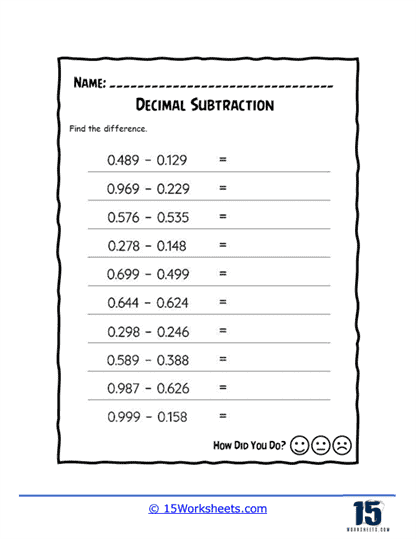
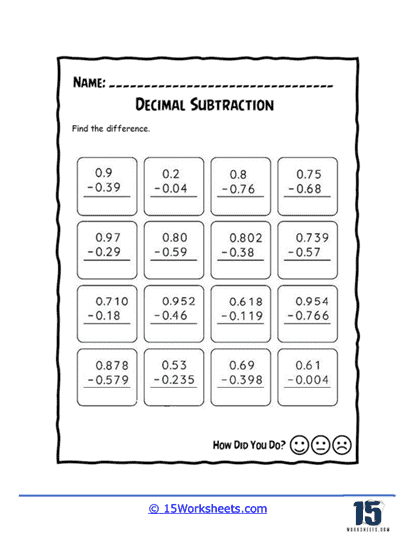
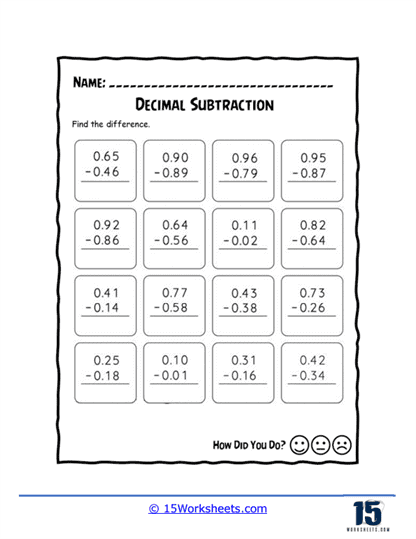
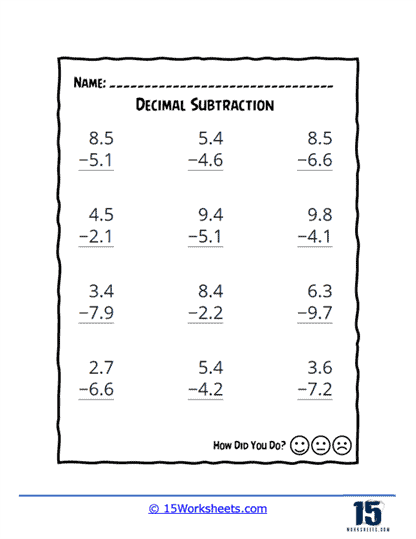
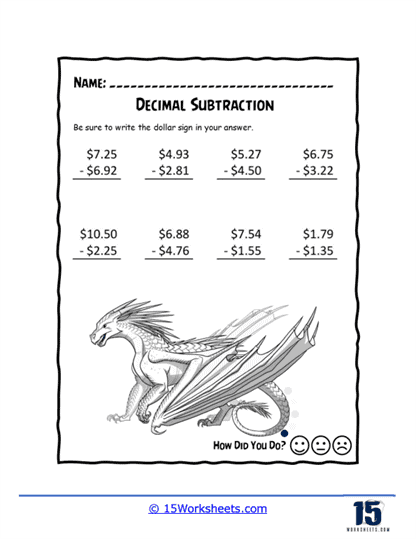
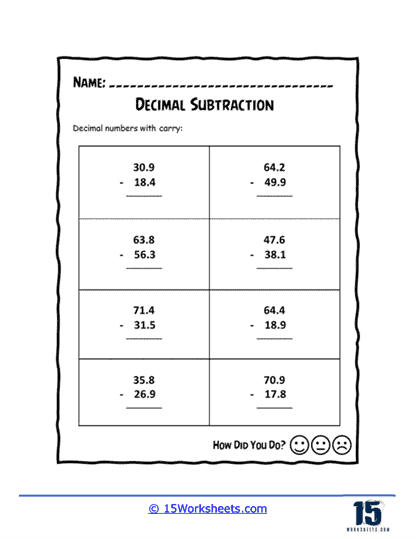
These Decimal Subtraction worksheets are designed to help students master the concept of subtracting decimal numbers. The worksheets include a variety of creative and engaging exercises to help students build their skills and confidence in decimal subtraction.
Each worksheet in the series includes a mix of problems with varying degrees of difficulty, designed to challenge and engage students at different skill levels. The problems require students to subtract decimal numbers with different numbers of decimal places and to properly align the decimal points in the calculation.
These worksheets also provide ample space for students to show their work and write down their answers. This helps them develop their problem-solving skills and allows for feedback to be given by teachers or peers.
This series is most suitable for students in grades 5 to 7. It can be used in the classroom as a supplement to the math curriculum or at home as a way for parents to help their children practice and reinforce their math skills.
These worksheets provide a comprehensive and engaging way for students to develop their skills and confidence in subtracting decimal numbers. With these worksheets, students can build a solid foundation in math and develop the skills they need to succeed in higher-level math courses.
How to Subtract Decimal Values
Subtracting decimal values is similar to subtracting whole numbers, with the added step of aligning decimal points. Here’s a step-by-step guide to subtracting decimal values that teachers can share with their students:
- Align Decimal Points – Write the numbers vertically so that the decimal points line up with each other. This makes it easier to subtract digits in the same place value.
- Add Zeros, if necessary – If one decimal has more digits after the decimal point than the other, add zeros to the shorter decimal so that they have the same number of digits. This will make subtracting the decimals simpler. Remember that adding zeros to the right of a decimal number does not change its value.
- Start Subtracting From the Rightmost Digit – Begin with the rightmost digits (the smallest place value) and subtract them. If the top digit is smaller than the bottom digit, borrow from the next place value on the left.
- Continue Subtracting Digits – Continue subtracting the digits in each place value from right to left, borrowing as necessary from the next place value on the left.
- Place the Decimal Point – Once you have subtracted all the digits, place the decimal point in the difference directly below the aligned decimal points of the numbers being subtracted.
- Simplify, if necessary – If the difference has trailing zeros after the decimal point (e.g., 4.50), you can remove them to simplify the result (e.g., 4.5).
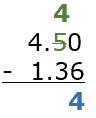
Here’s an example of subtracting 1.36 from 4.5:
Step 1: Align decimal points 
Step 2: Add zeros, if necessary 
Step 3: Start Subtracting from the Rightmost Digit
(0-6, borrow 1 from the next place value)
Step 4: Continue subtracting digits 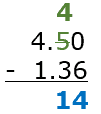
Step 5: Place the decimal point 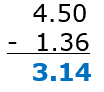
Simplify, if necessary: No trailing zeros in this case, so the difference remains 3.14. The difference between 4.5 and 1.36 is 3.14.
Best Ways to Teach Decimal Subtraction
Teaching decimal subtraction effectively involves breaking down the process into manageable steps and using various teaching methods to reinforce understanding. Here are some suggested strategies for teaching students how to subtract decimals:
- Review basic subtraction – Before introducing decimal subtraction, ensure that students have a strong foundation in basic subtraction with whole numbers.
- Reinforce decimal understanding – Make sure students have a solid grasp of decimals and their place values (tenths, hundredths, etc.) before moving on to subtraction with decimals.
- Align the decimals – Teach students the importance of aligning the decimal points when subtracting decimals. Instruct them to write one number below the other, ensuring that the decimal points are vertically aligned.
- Add zeros if necessary – If the numbers have different numbers of decimal places, students can add zeros to the end of the shorter decimal number to make it easier to subtract. This ensures that each decimal place has a corresponding number to subtract.
- Subtract from right to left – Students should start subtracting from the right-most column (smallest place value) and move to the left, just as they would with whole numbers. Remind them to borrow from the left when necessary.
- Place the decimal point – In the final answer, the decimal point should be placed directly below the decimal points in the original numbers, maintaining its position relative to the place values.
- Practice with examples – Provide students with a variety of decimal subtraction problems. Start with simpler problems and gradually increase the difficulty level as they become more comfortable with the process.
- Use visual aids and manipulatives – To help students grasp the concept of decimal subtraction, use visual aids like grid paper or manipulatives such as base-ten blocks to represent the subtraction process.
- Incorporate real-life scenarios – Encourage students to apply their decimal subtraction skills to real-life situations, such as calculating price differences, determining distance, or measuring time. This helps students understand the practical applications of decimal subtraction and reinforces their learning.
- Review and practice regularly – Ensure that students regularly review and practice decimal subtraction to build their confidence and fluency in this skill.
By using this step-by-step approach and incorporating a variety of teaching methods, students can effectively learn decimal subtraction and develop a strong foundation in this essential mathematical skill. Be patient and provide support as needed, tailoring the teaching approach to suit individual learning styles and needs.