Name Writing Worksheets


About These 15 Worksheets
Name writing might seem like a small milestone, but for kids, it’s a huge leap toward independence and identity. These worksheets are designed to make that journey fun, colorful, and meaningful. From tracing big block letters to scribbling out a fancy “signature,” the variety keeps kids motivated while practicing those oh-so-important strokes. Each activity is built to give students the repetition they need without ever feeling repetitive.
This collection works like a friendly coach for handwriting practice. Students build fine motor skills, learn proper letter formation, and gradually grow comfortable writing both first and last names. The mix of sentence starters, drawing spaces, and playful tasks ensures there’s something here for every learner-whether they’re just starting out or ready to stretch into cursive. By using these sheets often, children begin to see their name not just as letters, but as a special word they can write with pride.
On top of handwriting skills, these worksheets sneak in real-world readiness. Kids practice filling out names the way they would on school forms, greeting cards, or even introducing themselves to new friends. They’ll see how writing their name connects to identity, communication, and everyday interactions. It’s learning that feels personal-and practical.
Have a Look Inside Each Worksheet
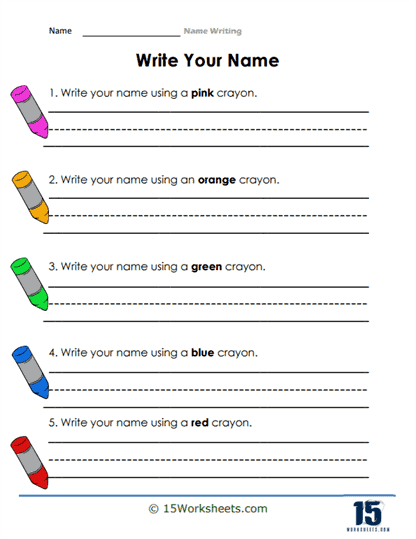
Crayon Colors
Kids write their name five times using different colored “crayons,” which keeps repetition fun and purposeful. The dotted baselines guide proper letter size and placement while building pencil control. It’s a great way to connect color words with handwriting practice. All that repetition helps build confidence and fluency.
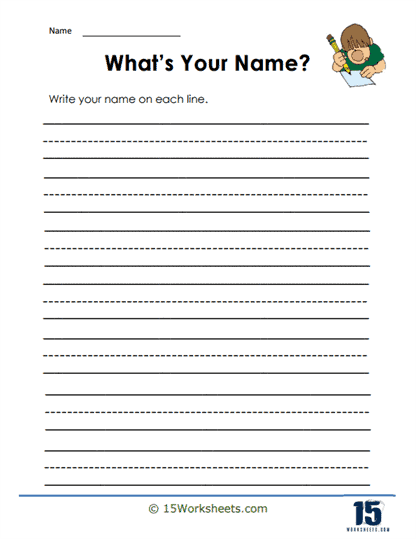
What’s Your Name?
This is classic, focused practice: students fill each line by writing their name neatly again and again. The wide primary lines support correct letter size and spacing. It’s simple, calming handwriting work that builds stamina. Perfect for daily warm-ups or independent practice.
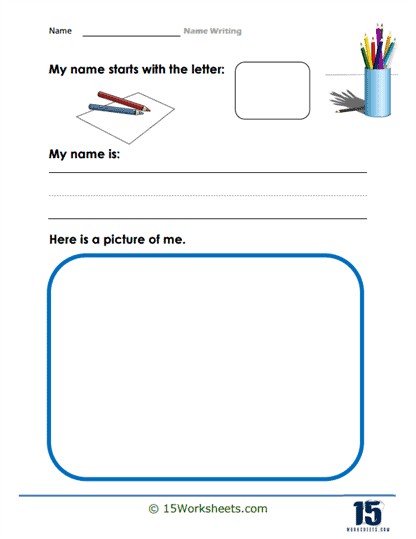
Picture of Me
Learners identify the first letter of their name, then write “My name is” on guided lines. A big drawing box invites a self-portrait to connect writing with identity. This blends phonics (initial sound/letter) with sentence starters. It gently ties handwriting to personal meaning.
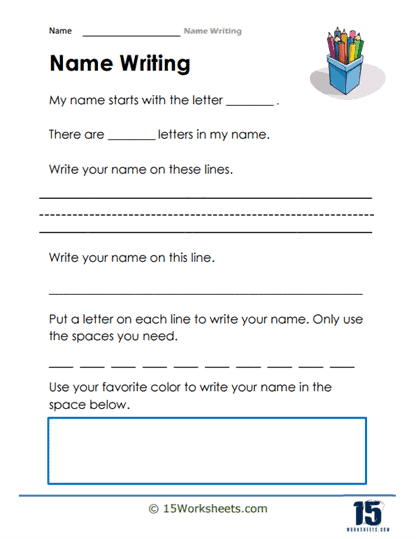
Name Review
A mini-checkup for everything: first letter, how many letters, writing on lines, spacing each letter, and a colorful signature. Students alternate between quick responses and full-line writing. That mix keeps focus high while reviewing key skills. It’s a well-rounded refresher for handwriting progress.
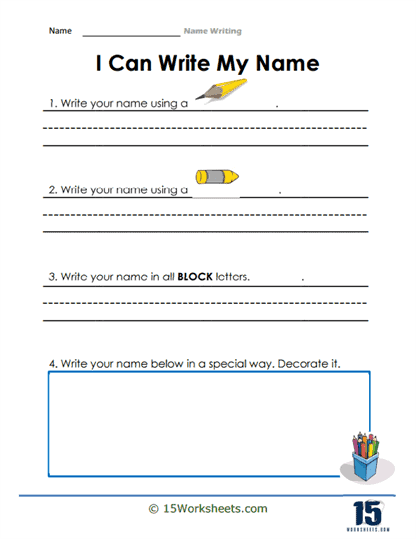
Block Letters
Students write their name with different tools, then in ALL BLOCK letters, and finally decorate a special version. The varied prompts keep motivation high and encourage careful letter formation. Uppercase practice supports clarity and control. It’s a playful path to stronger penmanship.
Print It
Kids print their first name, last name, then both together twice. The scaffolded lines help them manage spacing as the task gets longer. It mirrors real-life forms they’ll fill out at school. Excellent for building functional handwriting skills.
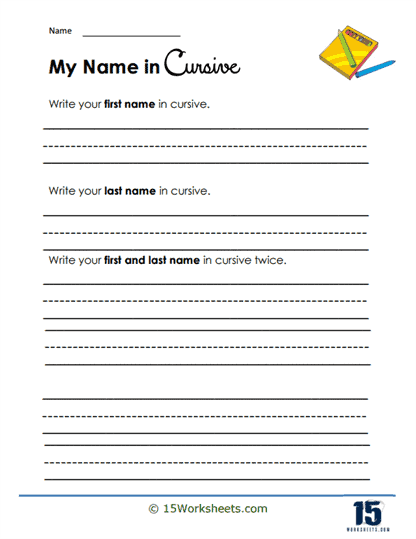
In Cursive
Learners write their first name, last name, and full name in cursive on primary lines. Repetition builds muscle memory for linking letters smoothly. It’s a gentle on-ramp from print to script. A smart way to extend writing skills into cursive.
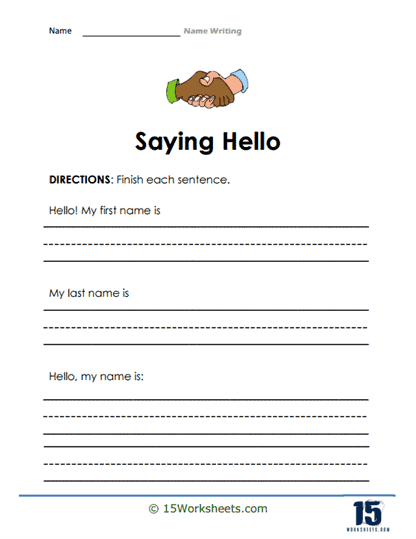
Saying Hello
Students complete friendly sentence starters: “Hello! My first name is…,” “My last name is…,” and “Hello, my name is…”. This blends handwriting with social language and introductions. Clear lines support neatness and confidence. It makes writing feel useful and conversational.
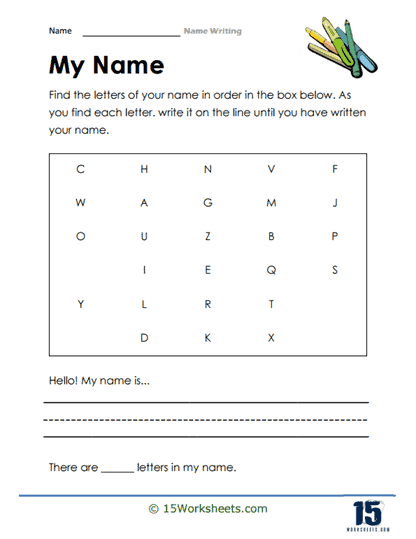
Find the Word
A letter grid turns handwriting into a game: find the letters of your name in order, then write it out. Students also state “Hello! My name is…” and count how many letters are in it. The hunt reinforces sequencing and letter recognition. It’s a lively way to reinforce spelling and handwriting.
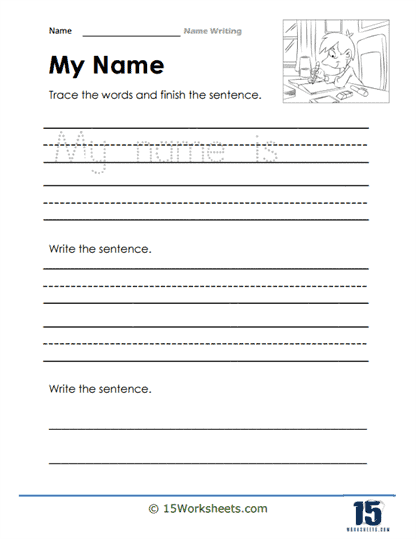
Sentence About Me
Kids trace “My name is” and finish the sentence on guided lines. Then they write the full sentence again-great for capitals, spacing, and ending punctuation. The repeated frame builds fluency fast. It directly links sentence writing to personal expression.
Pen Pal
Students “write” a first letter to a new pen pal, sharing their name and a bit about themselves. The big box invites drawing and/or writing, supporting various skill levels. This adds real-world purpose to handwriting. A wonderful, authentic context for practicing signatures and introductions.
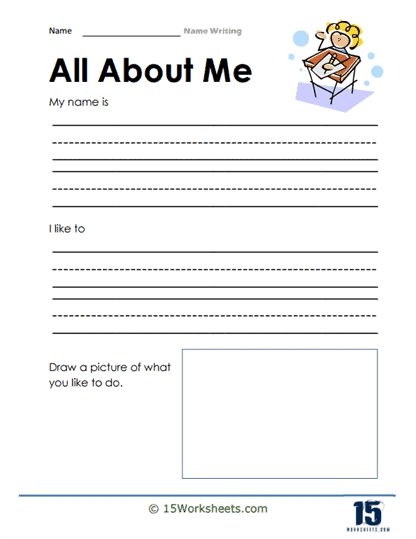
I Like To
Prompts guide kids to write “My name is” and “I like to…,” then draw what they enjoy. It’s part identity sheet, part handwriting practice. The familiar sentence frames boost confidence and structure. A cheerful way to combine self-expression with writing practice.
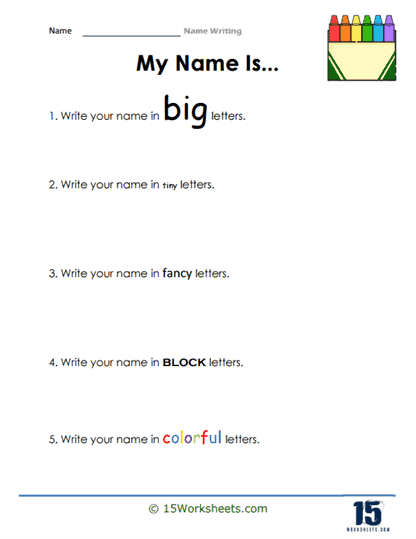
Big, Tiny, Fancy
Students write their name in big, tiny, fancy, BLOCK, and colorful letters. Those playful constraints build control over size, style, and letter formation. Creativity keeps engagement high. It’s targeted practice that makes writing memorable.
Friends, Pets, and Stories
Children write their own name, then the name of a friend, a pet, a story character, and a favorite toy. This expands practice to lots of proper nouns. It encourages capitalization and careful spelling. A sweet, social spin on handwriting practice.
Lots of Ways
Students count the letters in their name, then write it in uppercase, lowercase, and with only the first letter capitalized. They also note the starting letter and think of another name with the same initial. That variety builds flexibility and concept knowledge. An all-around tune-up for writing fluency.
Why Is Name Writing Such A Milestone?
Name writing is one of the first meaningful ways children connect literacy skills to their own identity. When a child learns to recognize, trace, and write their name, they develop a sense of ownership and pride in their work. It becomes more than just a handwriting exercise-it’s a personal milestone that makes literacy relevant to them. Seeing their name in print also helps children understand that written words carry meaning, laying a foundation for reading and writing development.
From a fine motor perspective, practicing name writing builds the hand strength, coordination, and pencil control necessary for future writing tasks. Tracing and forming letters require children to use small muscles in their hands and fingers, while also training their eyes to follow lines and shapes. This strengthens the connection between visual recognition and motor skills, which is critical for both handwriting and broader academic readiness. Consistent name-writing practice fosters muscle memory, making the act of writing feel more natural over time.
Beyond academics, name writing has a strong social-emotional component. Being able to independently write their name allows children to participate confidently in classroom routines-like labeling artwork, signing attendance sheets, or personalizing assignments. This independence supports self-esteem and reinforces a child’s sense of belonging within a learning community. In essence, name writing is not just about handwriting-it is about identity, readiness, and confidence, making it a fundamental skill for early learners.