Measuring in Centimeters Worksheets

About These 15 Worksheets
These worksheets are used primarily in elementary and middle school classrooms to help students learn and practice measuring lengths using the metric system, specifically in centimeters. These worksheets are integral to mathematics curricula that focus on measurement skills, vital for daily life and foundational for advanced mathematical concepts. The exercises on these worksheets vary widely to cater to different learning levels and styles, ensuring that students can engage with measuring concepts effectively.
These worksheets not only equip students with the skills necessary for daily tasks but also lay a solid foundation for more advanced studies in science, technology, engineering, and mathematics. Through engaging and diverse activities, students develop a comprehensive understanding of the metric system and its applications, enhancing both their academic and life skills.
Types of Exercises
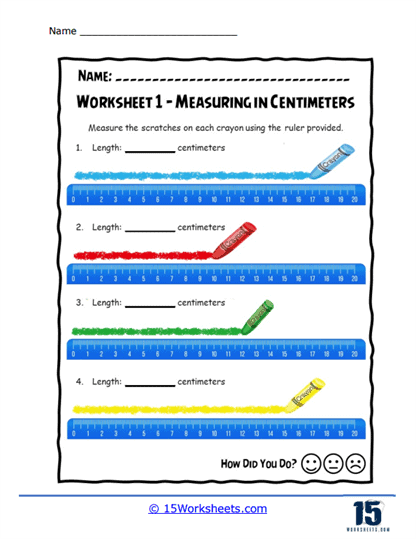
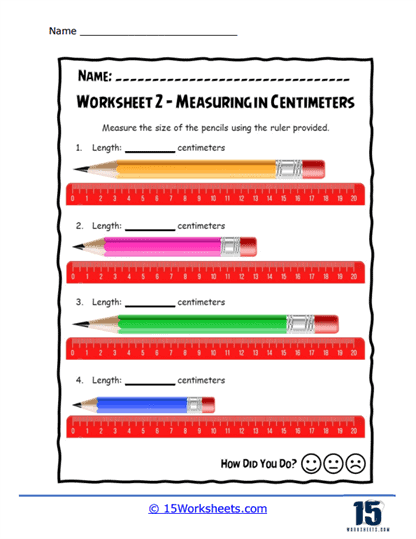
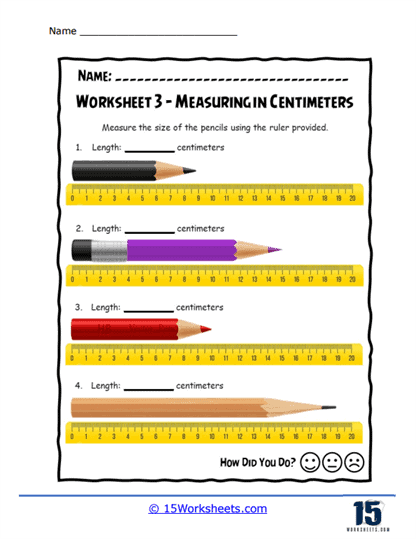
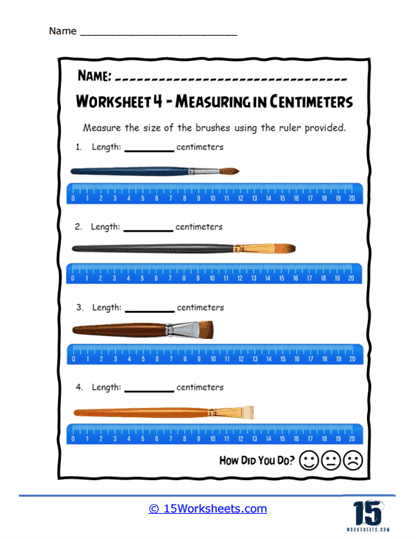
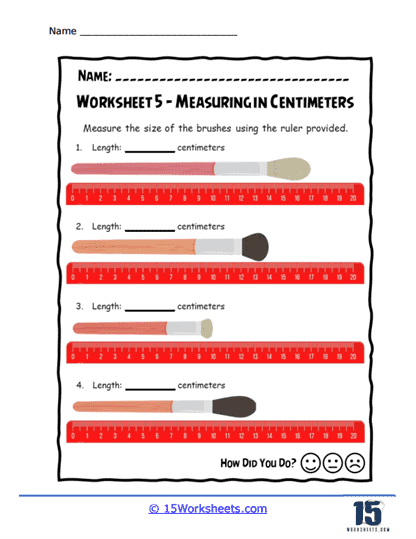
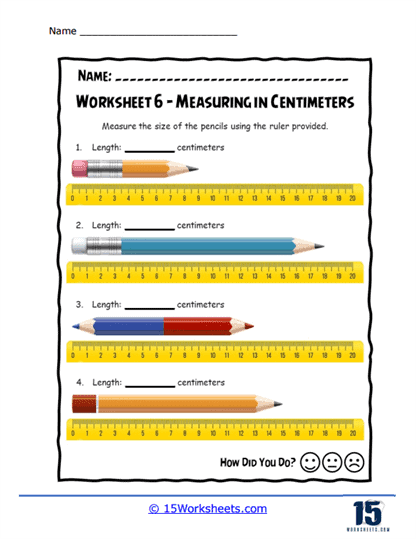
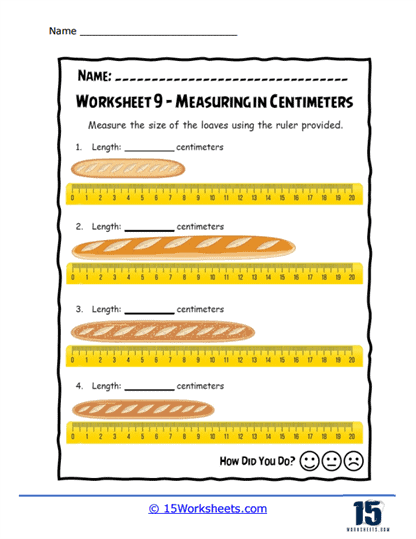
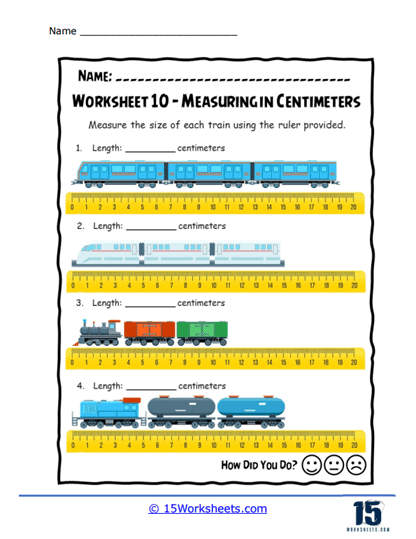
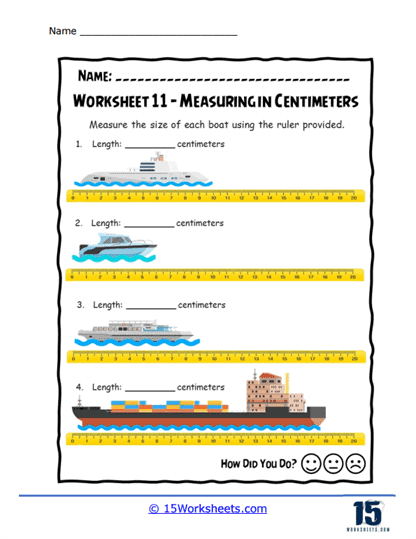
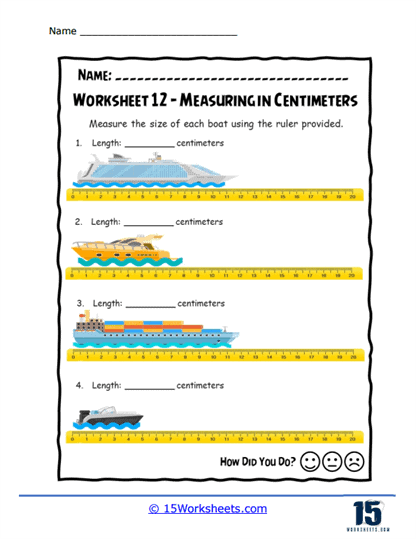
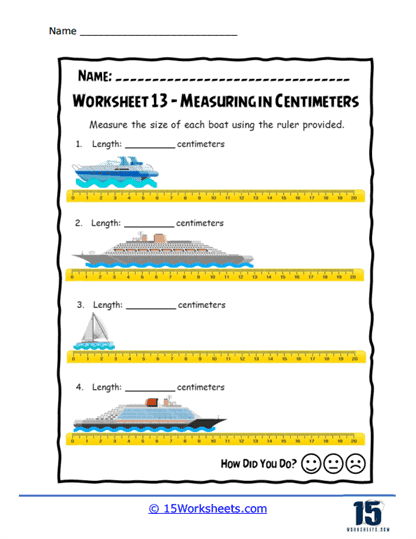
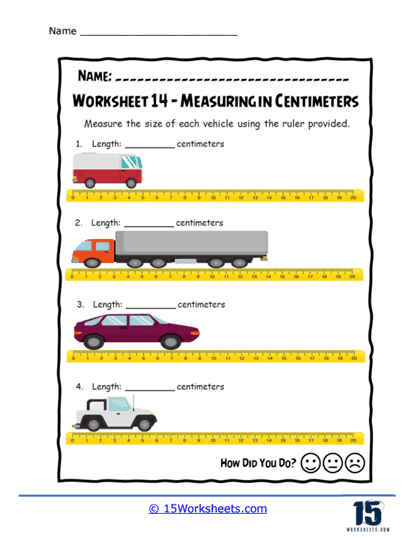
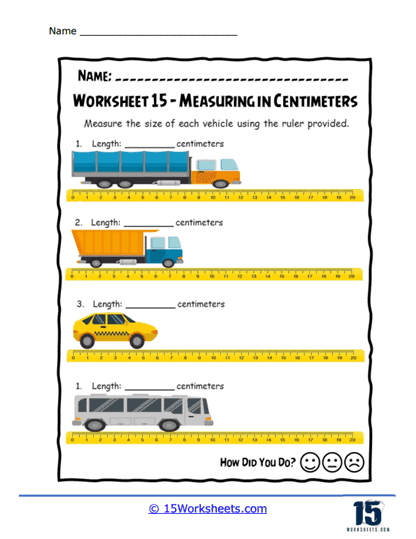
Measuring in Centimeters – These worksheets typically start with an introduction to the metric system, focusing on centimeters as a unit of length. Early exercises often involve simple tasks such as identifying the length of an object using a ruler. Students learn to align objects at the zero mark of the ruler and read the measurement at the point where the object ends. This basic exercise is essential as it helps students understand the physical act of measuring and the importance of accuracy.
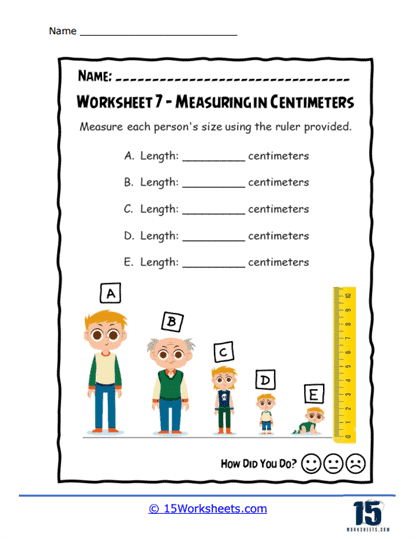
Comparing Lengths – Another common type of exercise involves comparing lengths. Students might be asked to measure two different objects and determine which is longer or shorter. This exercise not only reinforces how to measure but also introduces basic comparative analysis, a skill that enhances critical thinking. Some worksheets may present this concept visually, where students are shown pictures of objects with their measurements and asked to identify differences in their lengths without direct measurement.
Estimating and Measuring – To further develop measurement skills, worksheets often include activities that require students to estimate the length of an object before measuring it. This exercise encourages students to develop a sense of spatial awareness and approximation, which are useful in practical situations where precise tools might not be available. After estimating, students measure the object to see how close their estimates were, promoting accuracy and attention to detail.
Using Different Measurement Tools – While the focus of these worksheets is on using standard rulers, they sometimes also introduce other measuring tools like meter sticks or measuring tapes. These exercises might involve larger objects or distances that are not easily measured with a small ruler. Students learn that different tools are suitable for different tasks, and they gain flexibility in thinking about measurement.
Drawing Objects to a Specified Length – Some worksheets ask students to draw objects of specific lengths, combining creative skills with mathematical precision. This might involve drawing lines, shapes, or entire scenes where components need to fit within certain dimensions. This exercise not only reinforces the ability to measure but also helps in understanding proportions and spatial organization.
Advanced Measurement Tasks – For more advanced students, worksheets might include tasks involving the conversion between different units, like converting centimeters to meters. These exercises are crucial for developing a deeper understanding of the metric system and for preparing students for more complex mathematical concepts such as scale, ratio, and density.
Measuring Angles and Curves – Although primarily focused on straight lengths, some worksheets introduce the concept of measuring non-linear objects, such as angles or curves. These might require tools like protractors or flexible measuring tapes. Students learn that measurement is a versatile skill applicable to various shapes and forms.
Collaborative Measuring Exercises – To make learning more engaging, some worksheets incorporate interactive elements like group projects where students measure items in the classroom or at home. These activities promote teamwork and practical application of measuring skills in a variety of settings. These worksheets often culminate in a review section where students are tested on all the concepts covered. This might involve a mix of multiple-choice questions, practical measuring tasks, and problems that require detailed responses. Assessments help teachers gauge student progress and areas needing further instruction.
Tips For Measuring Length
Select the Right Ruler – Make sure you have a ruler that has centimeter markings. Most standard rulers have both centimeter and inch markings, so ensure you’re using the side marked in centimeters.
Place the Ruler – Lay the ruler flat on the surface along the length you want to measure. Ensure that the starting point of the measurement aligns with the zero mark on the ruler. If the object you’re measuring isn’t flat, you may need to hold the ruler against it.
Read the Measurement – Look closely at where the end of the object lines up with the markings on the ruler. Each centimeter is divided into ten equal parts, called millimeters. The longer lines represent centimeters, while the shorter lines represent millimeters. Determine the nearest millimeter that aligns with the end of the object being measured. If the end falls exactly on a centimeter mark, that’s your measurement. If it falls between two centimeter marks, note the number of millimeters as well.
Interpret the Measurement – If the end of the object aligns with the 4th mark after the 7th centimeter, for example, your measurement would be 7.4 centimeters. If it aligns exactly with the 8th centimeter mark, your measurement would be 8 centimeters. Note down the measurement for future reference if needed. Make sure to include any decimal places if you’re measuring to the nearest millimeter.
Check for Accuracy – To ensure accuracy, double-check your measurement by reading it from both ends of the ruler. Sometimes parallax error can occur, where the angle you view the measurement from affects its appearance. With practice, you’ll become more adept at aligning objects precisely with the ruler and reading measurements accurately.